
March 2023
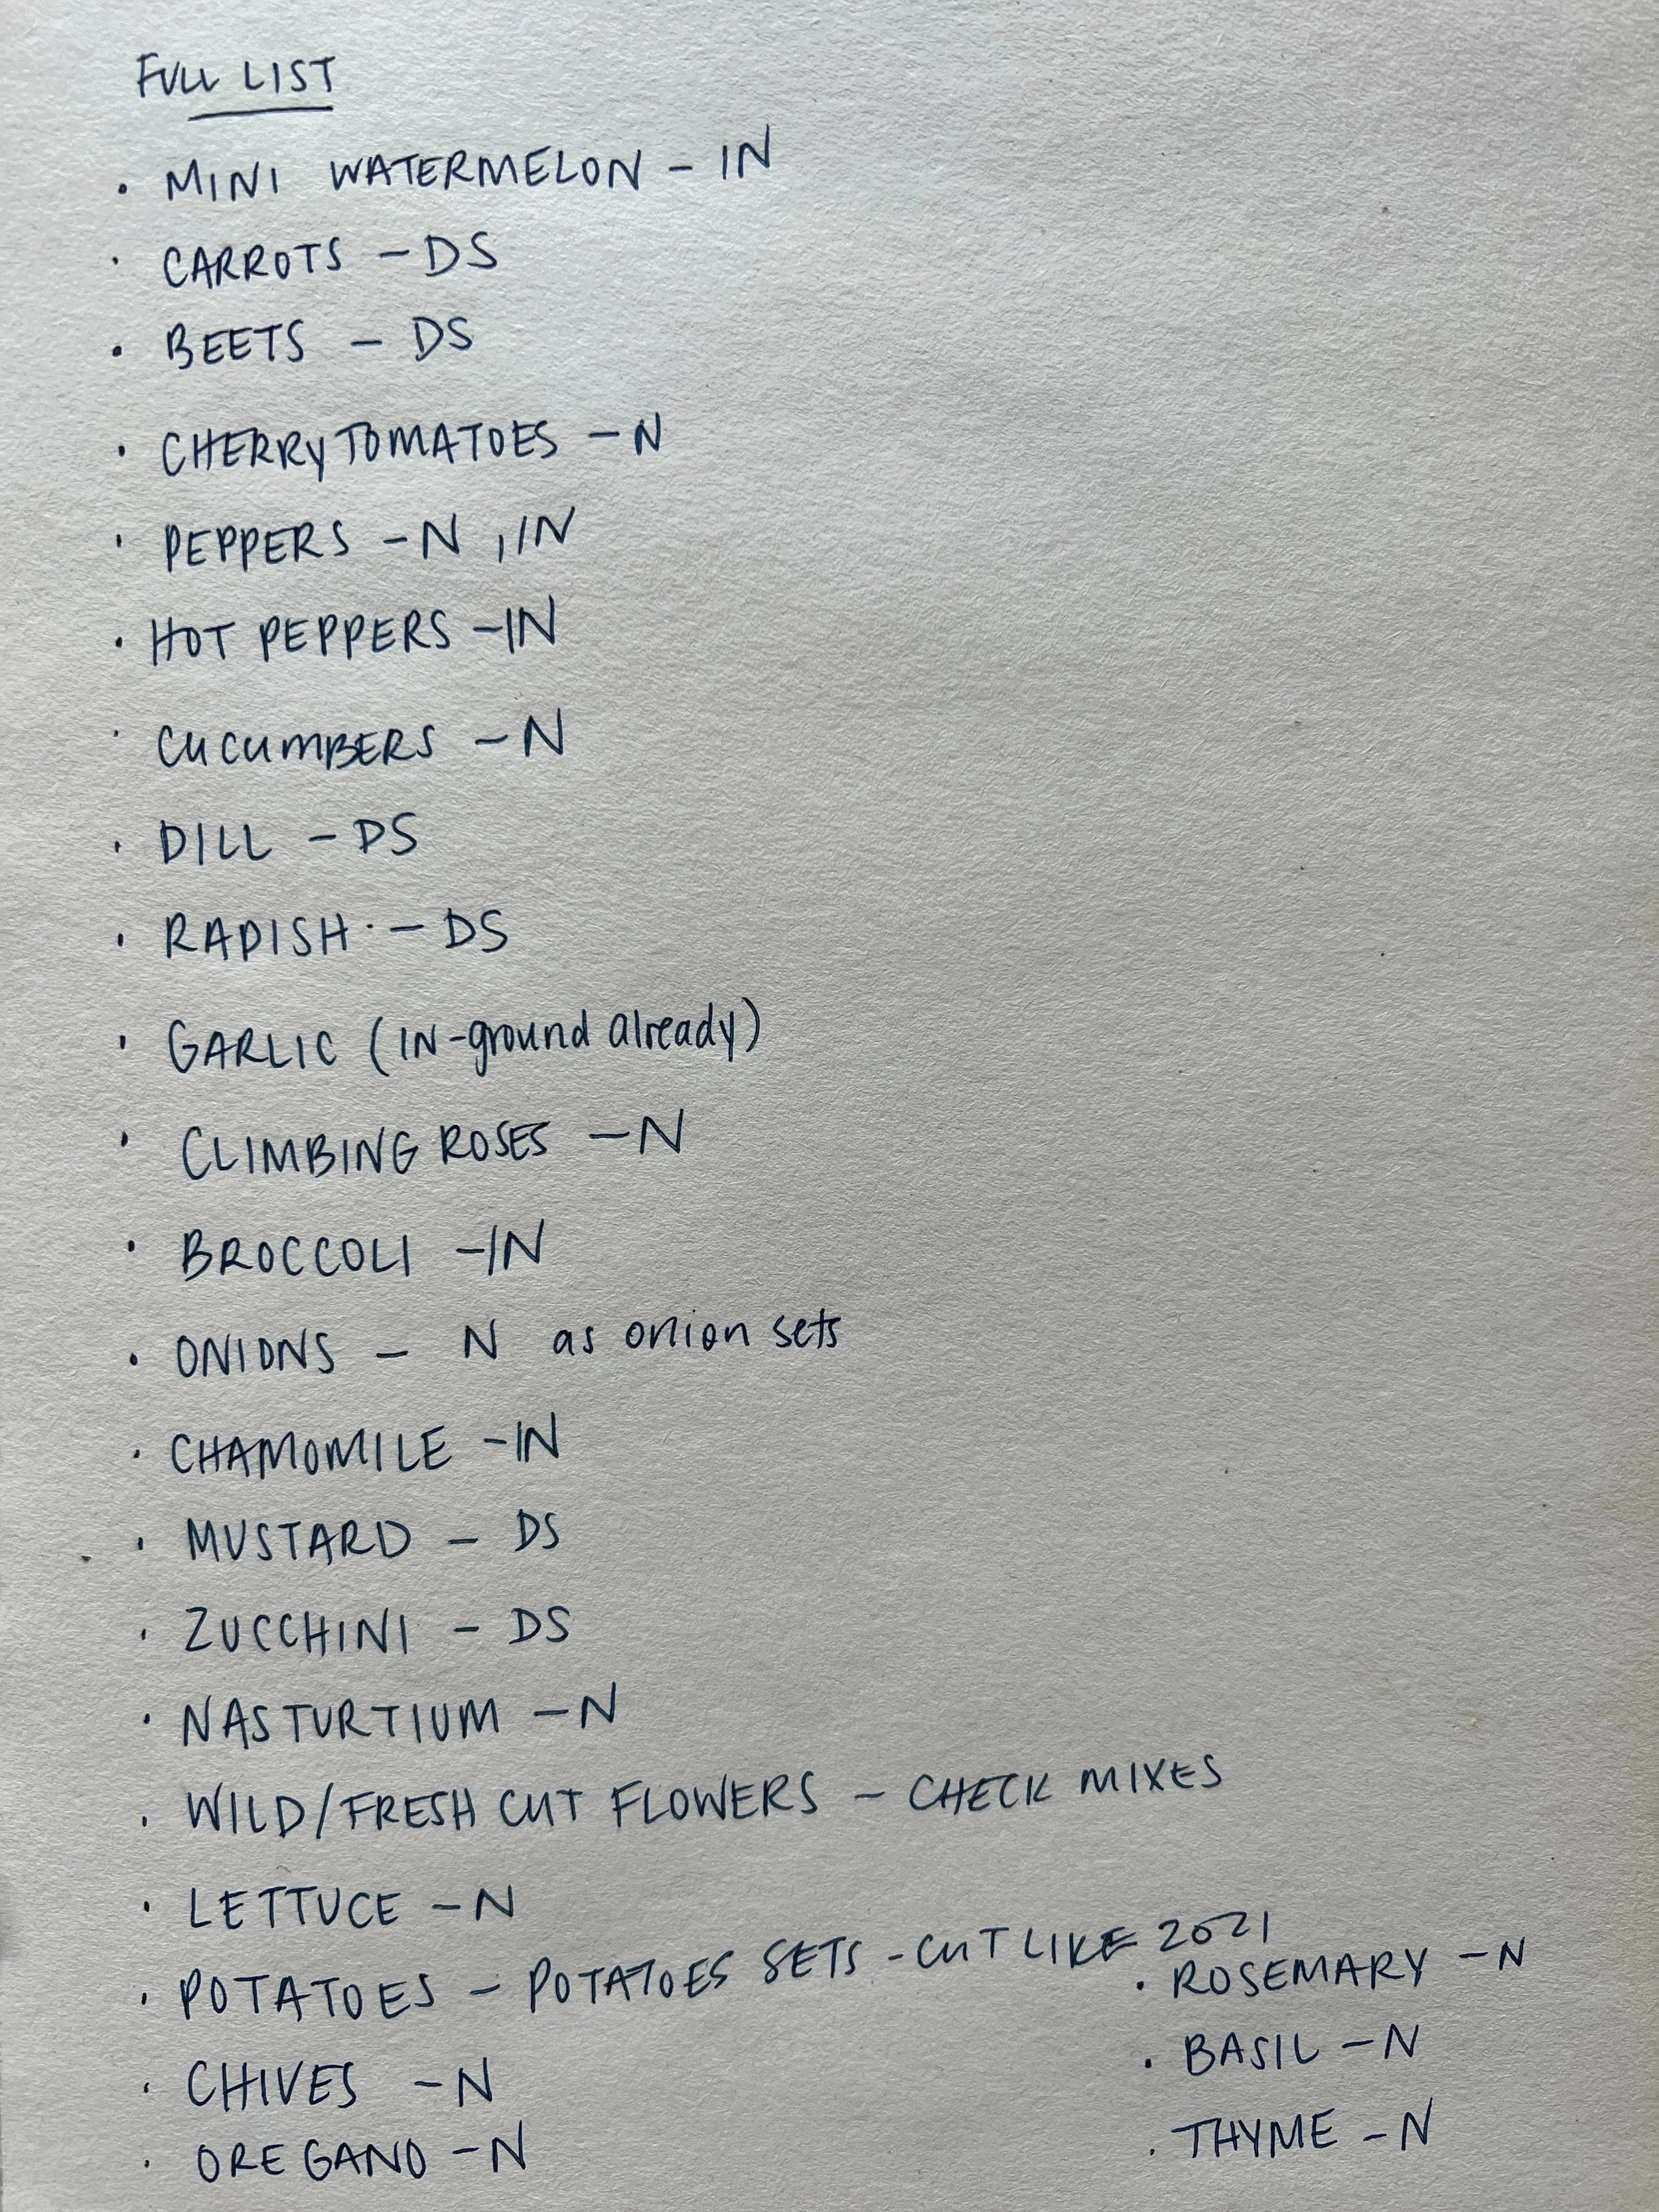
IN - Indoor From Seed, DS - Direct Sowing, N - Nursery
Planting a Garden with MaggsyMade
Let me premise by saying this: everything can be attempted from seed, a lot of things can directly sown, and lots and lots of things can be purchased at nurseries. There are pros and cons, extensions and limitations for each one, which is why I like to apply a hybrid approach. It’s an approach that changes depending on my time and needs of the year. I’ll start by reviewing each method. If you just want to skip to my recommendations, click here.
INDOOR FROM SEED
Do you have 6-8 weeks of attention for your seedlings? That’s probably the first question I ask people. Growing from seed is a time commitment first and foremost. Next, do you have a grow-light/are financially able to purchase one? In my home at least, I just do not get enough sun to be able to grow seedlings that don’t get scraggly and elongated searching for sun. Finally, will you have the time to harden your seeds off right before the season begins? Hardening seedlings is the process of bringing your tray of seeds outdoors for short to eventual long periods of time before planting to avoid shock when they are exposed to outdoor conditions. There’s a lot of work invoiced!
So why would anyone grow indoors from seed? Cost efficiency may come up, but unless you’re growing a very large quantity of a particular plant, odds are you’ll spend more on the cost of getting set up and the electricity than you would just buying them. To answer in the positive, I myself will grow indoors for multiple reasons. Nurseries don’t always carry everything I want to grow so A., for the variety, B., because it gives me a headstart on a season and C., because it’s easy and I very much enjoy the process.
If you want to try it out, I would recommend only a few to start, and easy ones at that! This year I’ve already started growing: basil, mini watermelons, snap dragons and lavender. Within the next week or so, I’ll begin tomatoes, hot peppers and broccoli.
DIRECT SOWING
Simply put, it’s placing your seeds directly in the ground. Many plants do not do well when transplanted and do much better when they begin growing and remain growing in the same place, others will have many plants (think carrots) that would take ages to transplant. While it’s nowhere as tedious as indoor from seed, you’ll still need to thin out your seedlings once they’ve begun growing (which hurts my heart to pull out a tiny tiny carrot) so in turn you are “wasting” seeds. But I would argue that for those plants that do best with direct sowing, it’s an easy, relatively stress-free (and honestly I’m always wowed at how well things grow) way to go. I’m fairly pro direct sowing.
NURSERY TRANSPLANTS
Personally, I feel like I live in the golden area of nurseries, I have options galore. As you can see from my list, I end up buying many of my herbs and veggies. BUT, my garden is still relatively small. Majority of my purchases end up being 1-8 cells or small pots. Which means that financially, I end up spending between $40-$80, which compared to buying perennials ends up feeling like a steal. And, where I am in Ontario, I have a growing season of about 127 days., so strong, healthy transplants from the nursery feel like a headstart. The one issue with the nursery route however, (besides the $$) gets down to variety. Even with so many lovely nurseries, sometimes I can’t find the particular cultivar I’d like to grow, or some years, certain things are popular and then sold old. There is a risk with it, but it is also the biggest time saver. And, many things end up on this list because I want them sooner rather than later (think lettuce and other leafy greens).
Between the three categories, time and money are my biggest weighing factors, so first determine yours and then weigh accordingly. Now, these are just my recommendations, as mentioned, almost everything on the list can be attempted from seed, found in a nursery and/or direct sown, but with scattered success, especially for the latter.
-
The list is small! These are fairly easy:
Cauliflower
Peppers
Hot Peppers
Broccoli
Brussel Sprouts
Cabbage
Basil
-
Carrots
Beets
Radish
Zucchini
Squash
Beans
Corn
Peas
Scallions
Chives
Onions (I love onion sets, not seeds)
Potatoes (again like onions, not from seed, but from seed potatoes)
Lettuce
Parsnips
Spinach
Turnips
-
Cucumbers
Lettuce
Spinach
Nasturtium
Oregano
Rosemary
Thyme
Lavender
Pistachio Pesto
METHOD
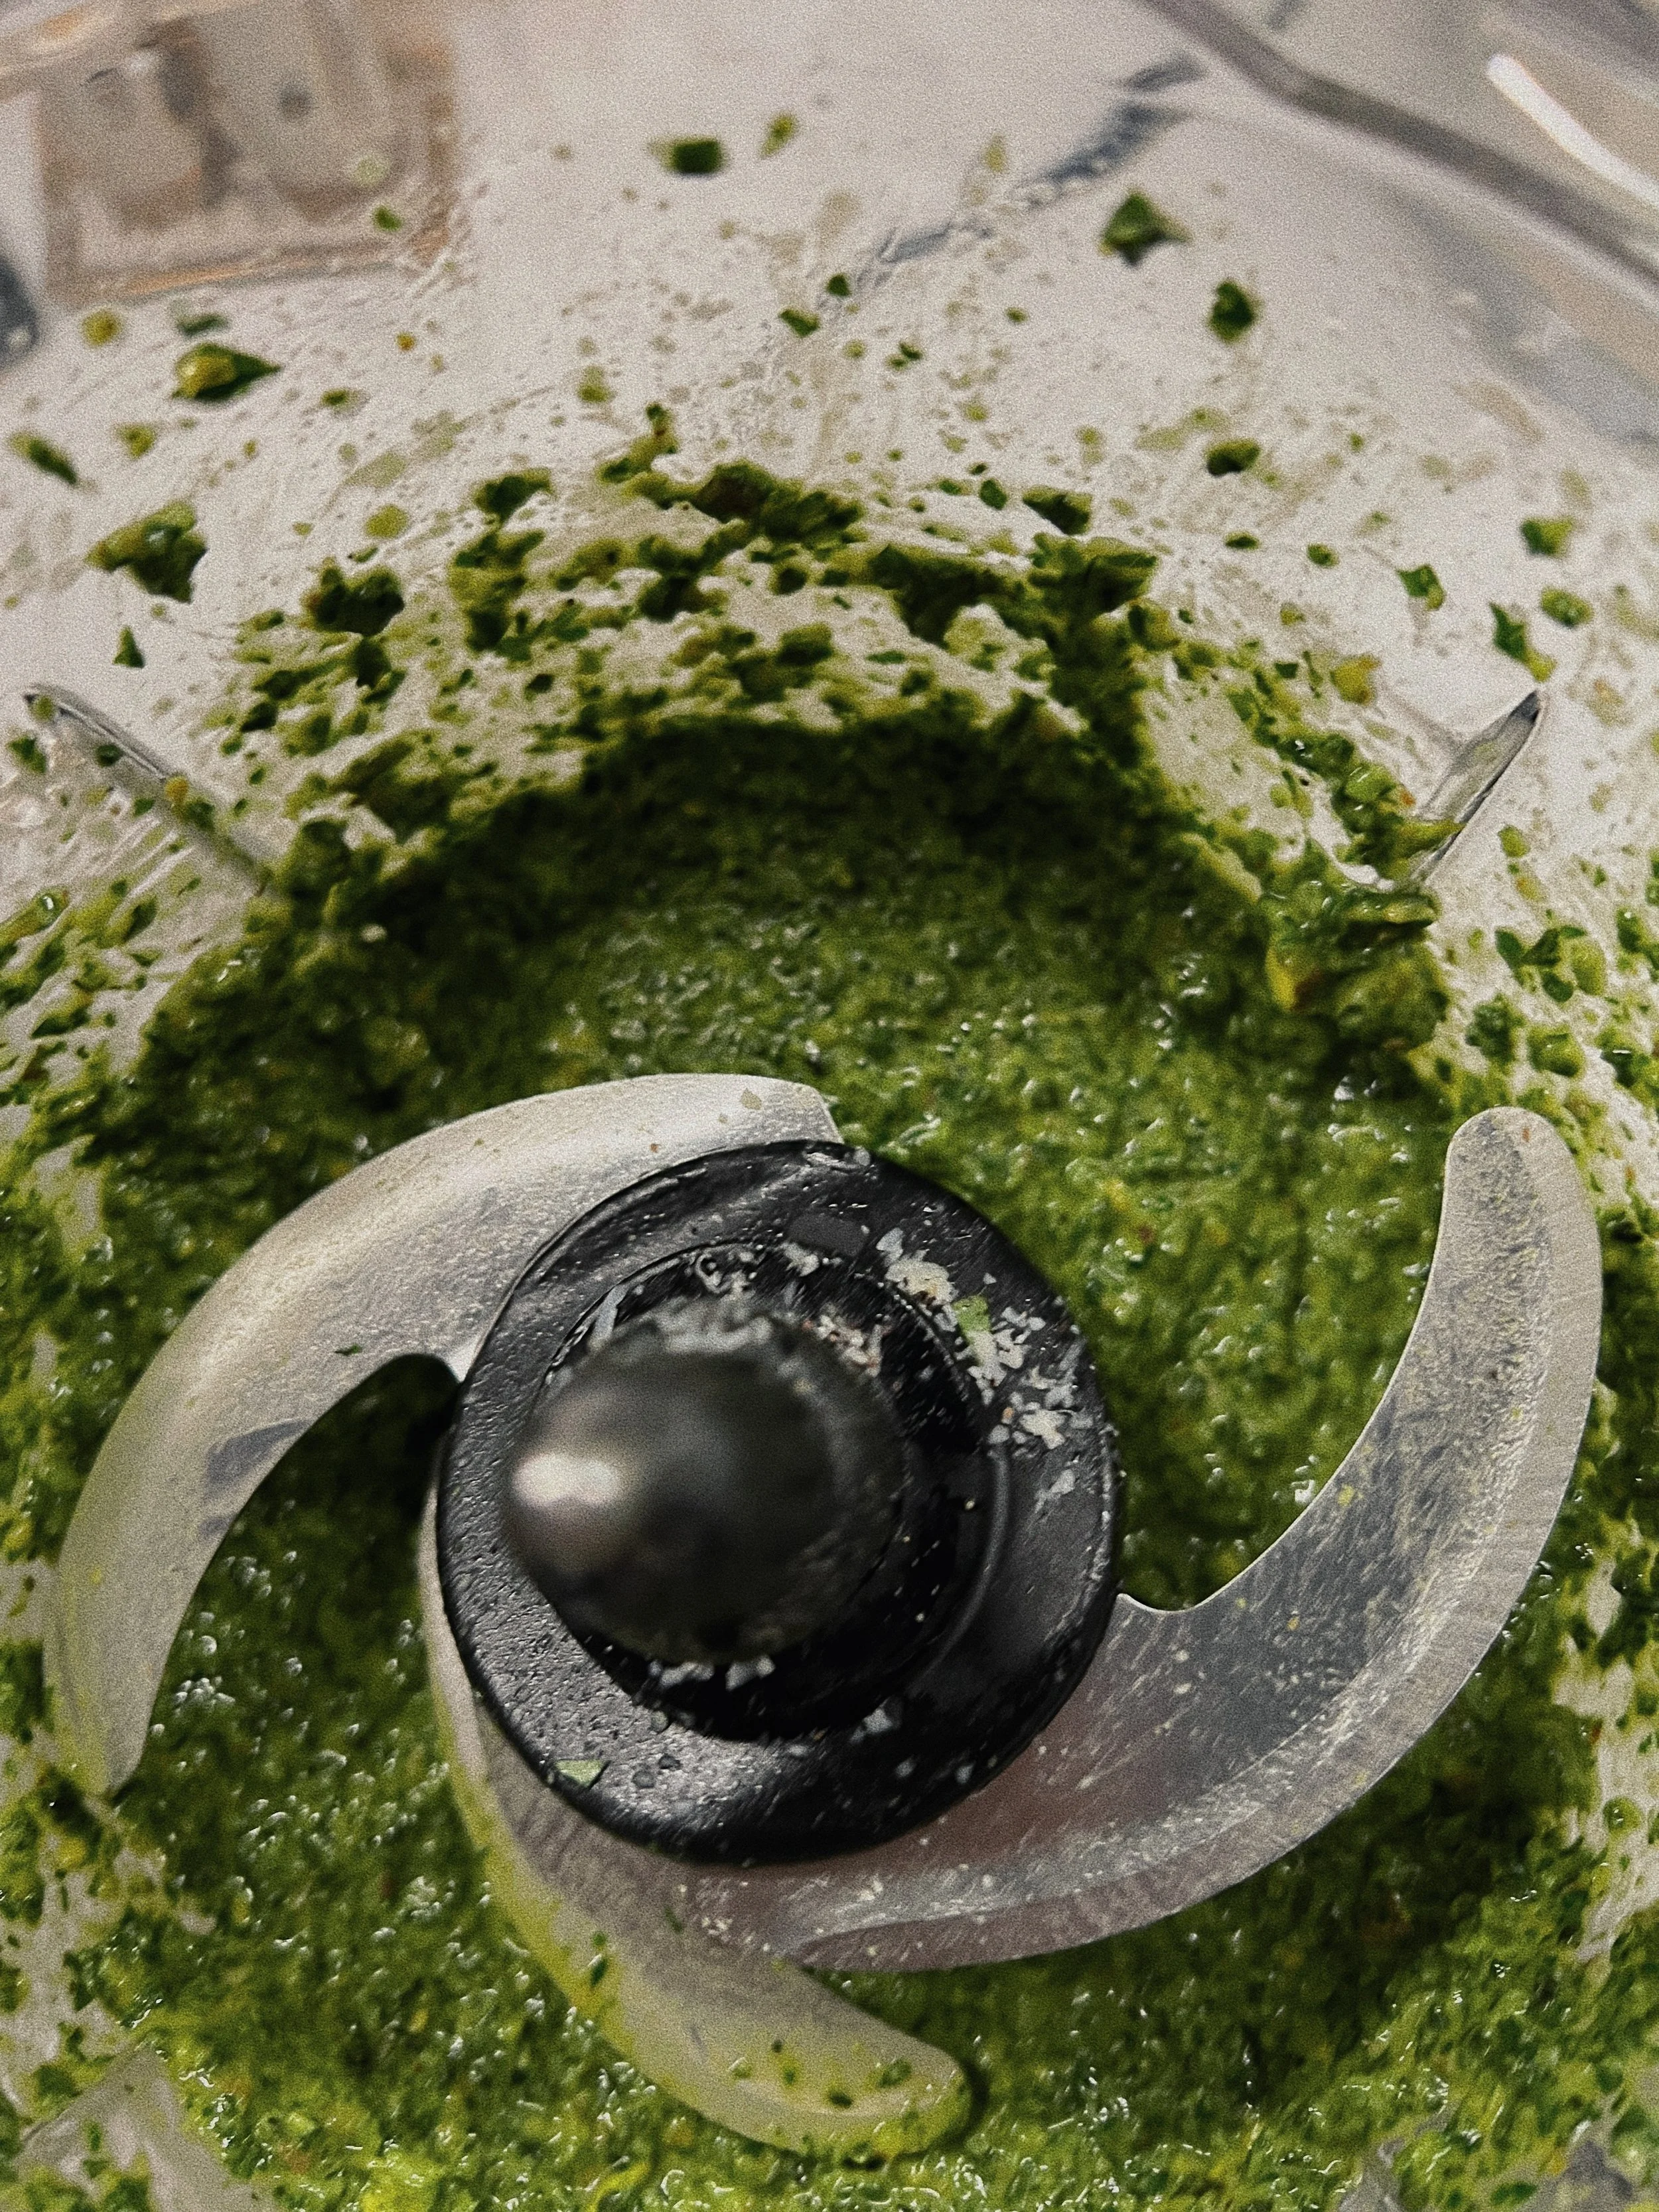
1. In a food processor, add pistachios, garlic cloves and parm. Pulse a few times until finely ground. Add lemon juice and salt. Add basil. If it doesn't all fit start with half. Pulse a few times. Add remaining basil.
2. Set to purée and slowly begin pouring oil. The amount of oil you use is a personal preference. I like really creamy pesto, so tend to use about a cup. Take a moment to scrape down the sides and purée until you have your ideal consistency.
3. ENJOY!
INGREDIENTS
• 1 CUP pistachios (unsalted)
• 1 CUP freshly grated parmigiano-Reggiano
• 3 BIG ass garlic cloves
• 3 TABLESPOONS lemon juice
• 1 TEASPOONS kosher salt
• 4 CUPS packed fresh basil
• 1/2 to 1 cup olive oil
Cheddar Broccoli(ni) Soup
METHOD
In large pot, add a few swishes of olive oil into a warmed pot (medium-high), and add your onions. Cook for about 3-5 minutes until translucent, turn down the heat if needed to a medium low. Add your garlic and cook for about 1-2 min, until fragrant. Add your potatoes, broth, broccoli(ni) and a your heavy cream. Bring to a simmer and let cook for about 15-25 minutes.
While the soup is cooking, prepare a small saucepan on medium heat. Add a handful of cheddar and let cook. You add can seasoning here if you’d like, I generally add sesame or garlic powder. You’ll see that after about 3-5 minutes it will bubble and come together. Flip over and let cook for a few minutes on the other side. Then remove and let it set.
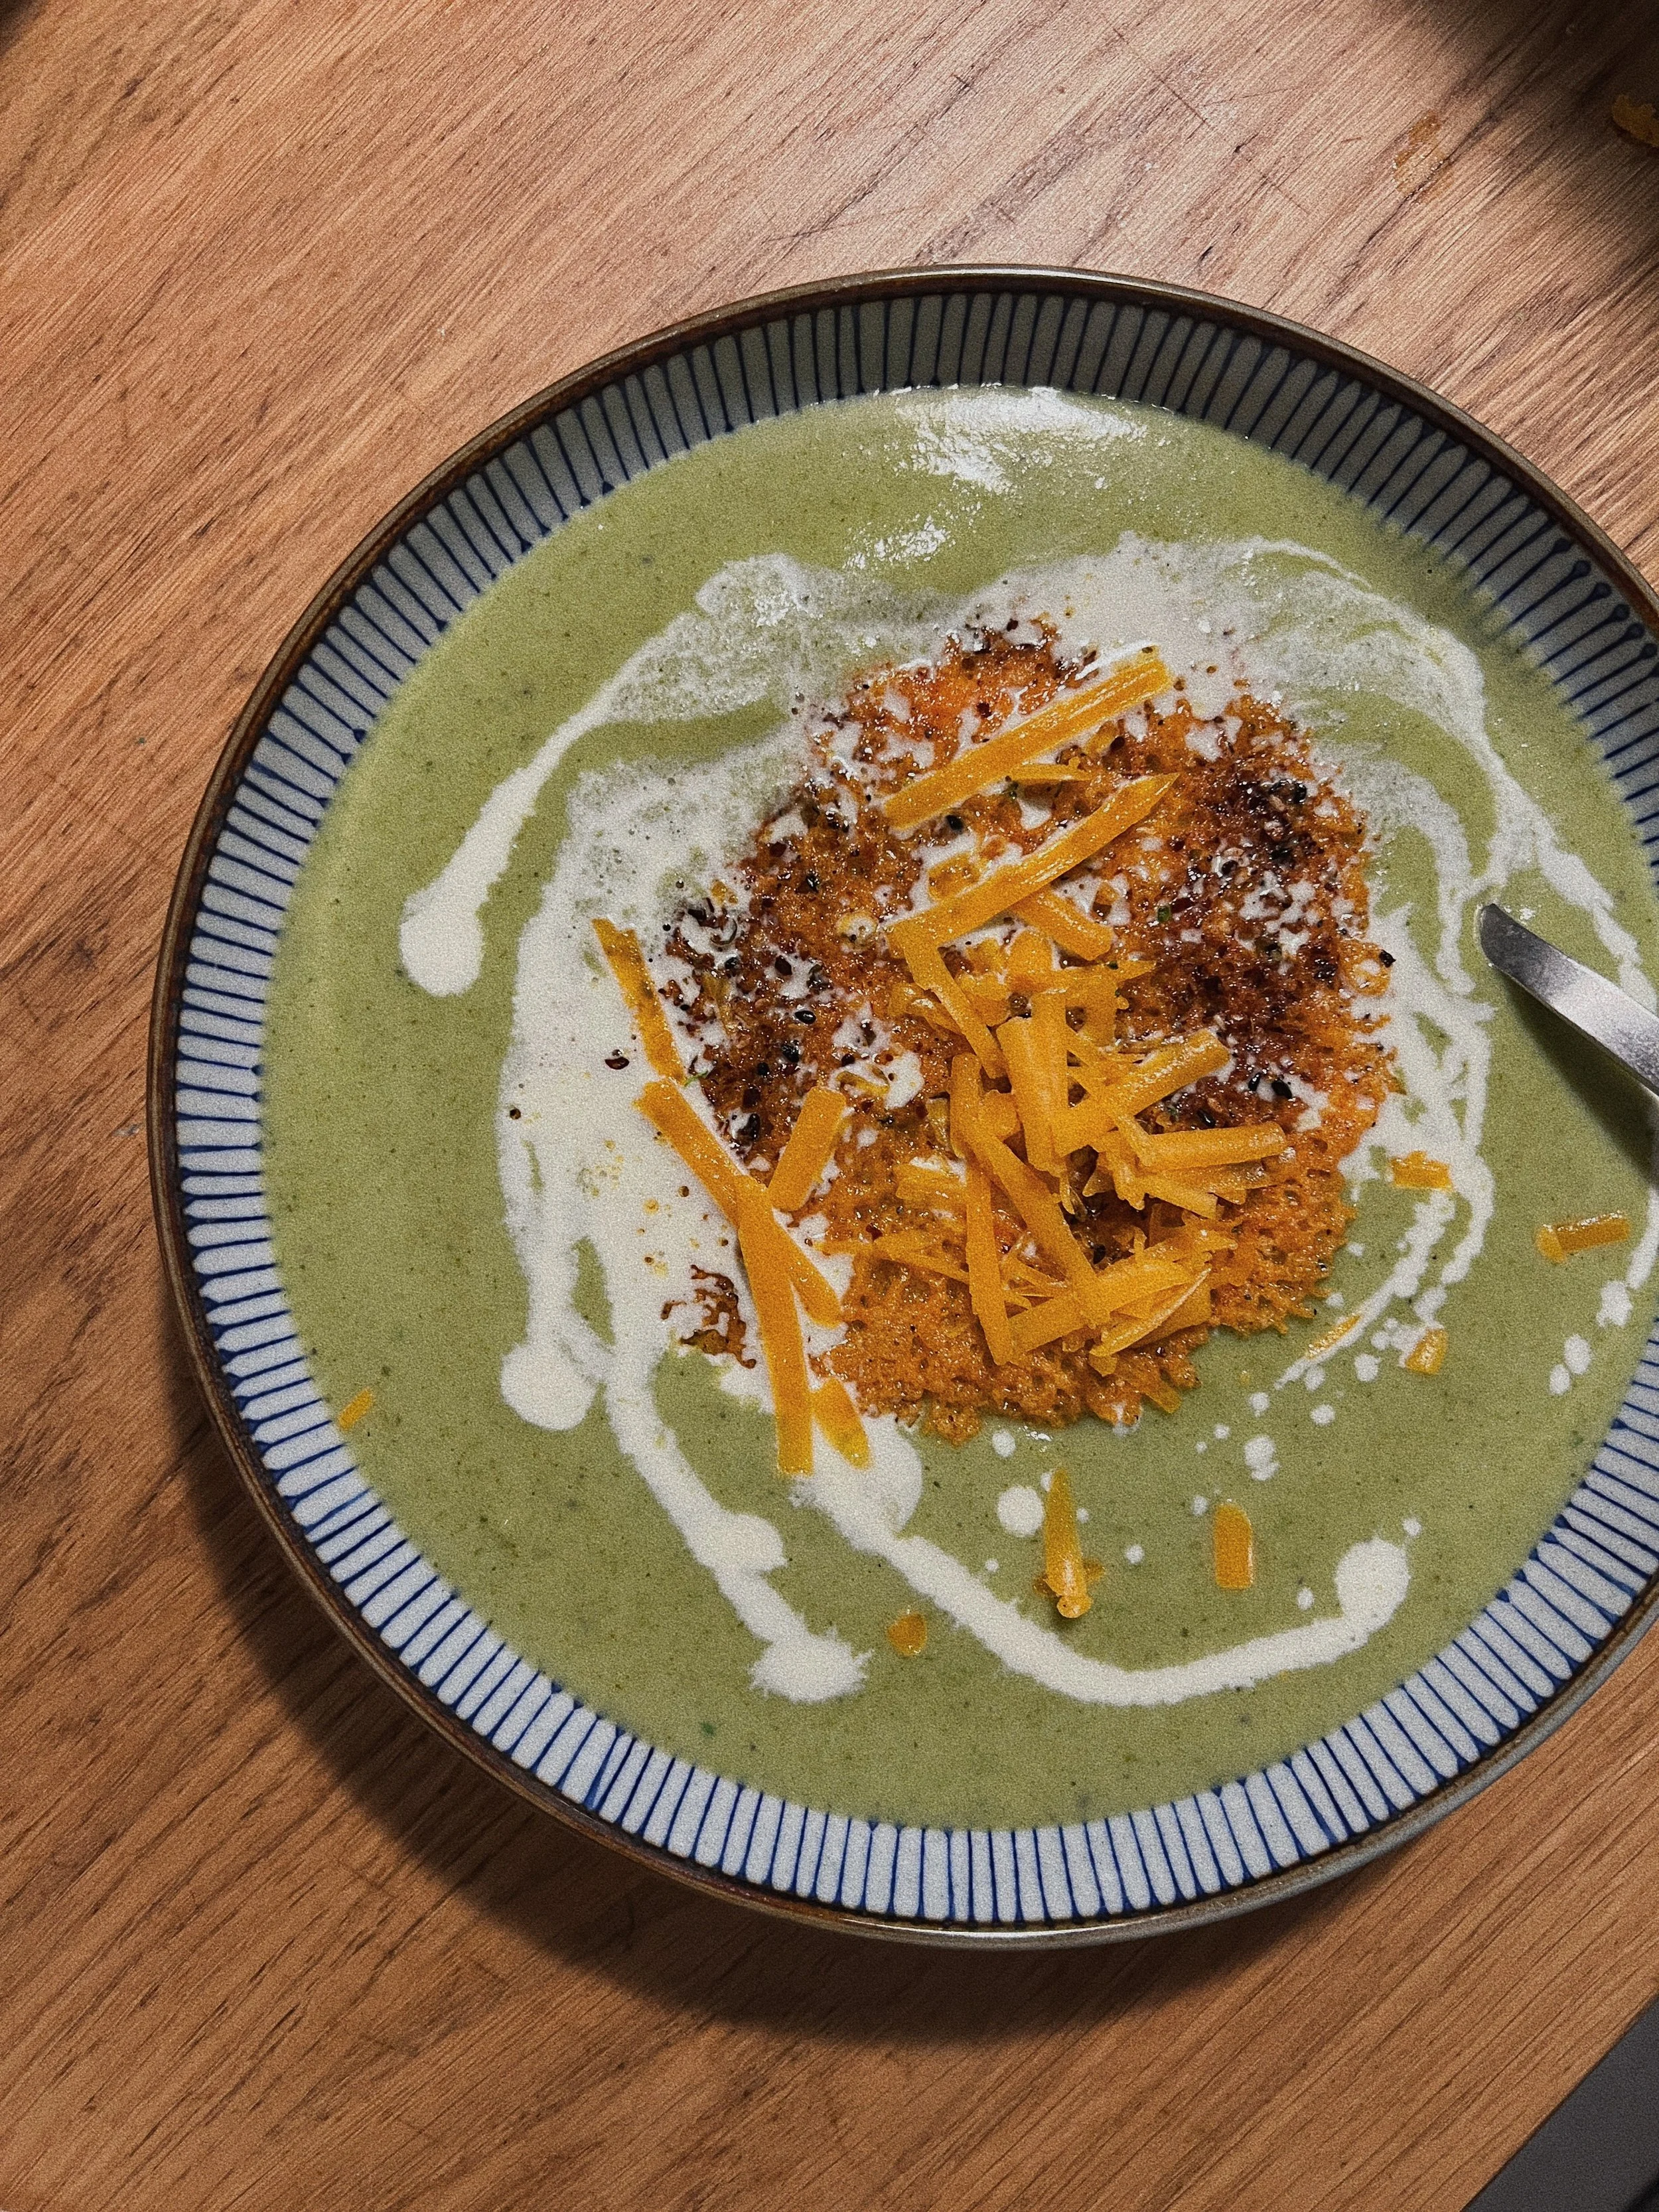
Add spinach to your soup, allow to cook for another 10 minutes or so. Once wilted, place into a blender (not food processor if you can help it) for a smooth blend. Plate and add a drizzle of cream with pepper and your crisp on top!
ENJOY!
INGREDIENTS
• Olive oil
• 1 medium onion, sliced
• 2 garlic cloves, diced
• 4 potatoes, peeled and cubed
• 4 CUPS chicken/veggie broth
• I used one broccoli crown (wilty) & about
3 handfuls of broccolini, roughly chopped
• 1/4 CUP heavy cream
• 3 CUPS packed spinach, chopped
• 1 CUP sharp cheddar + 1/2 to 1 1/2 cups for
crisps, depending on how many you want