
October 2022
recipes & How-Tos

no knead Bread
INGREDIENTS
• 1 1/2 CUPS hot water (115˚F to 120˚F is your ideal range)
• 2 TEASPOONS instant yeast
• 1 TEASPOON salt
• HEAPING PINCH granulated sugar
• 3 CUPS bread flour + more for shaping (aerate your flour before hand - all that means is make sure you fluff it up with fork before measuring)


METHOD
Measure out water, use a thermometer (I use a meat one, anything that measures the temperature works). Add yeast and let it stand for 5 minutes.
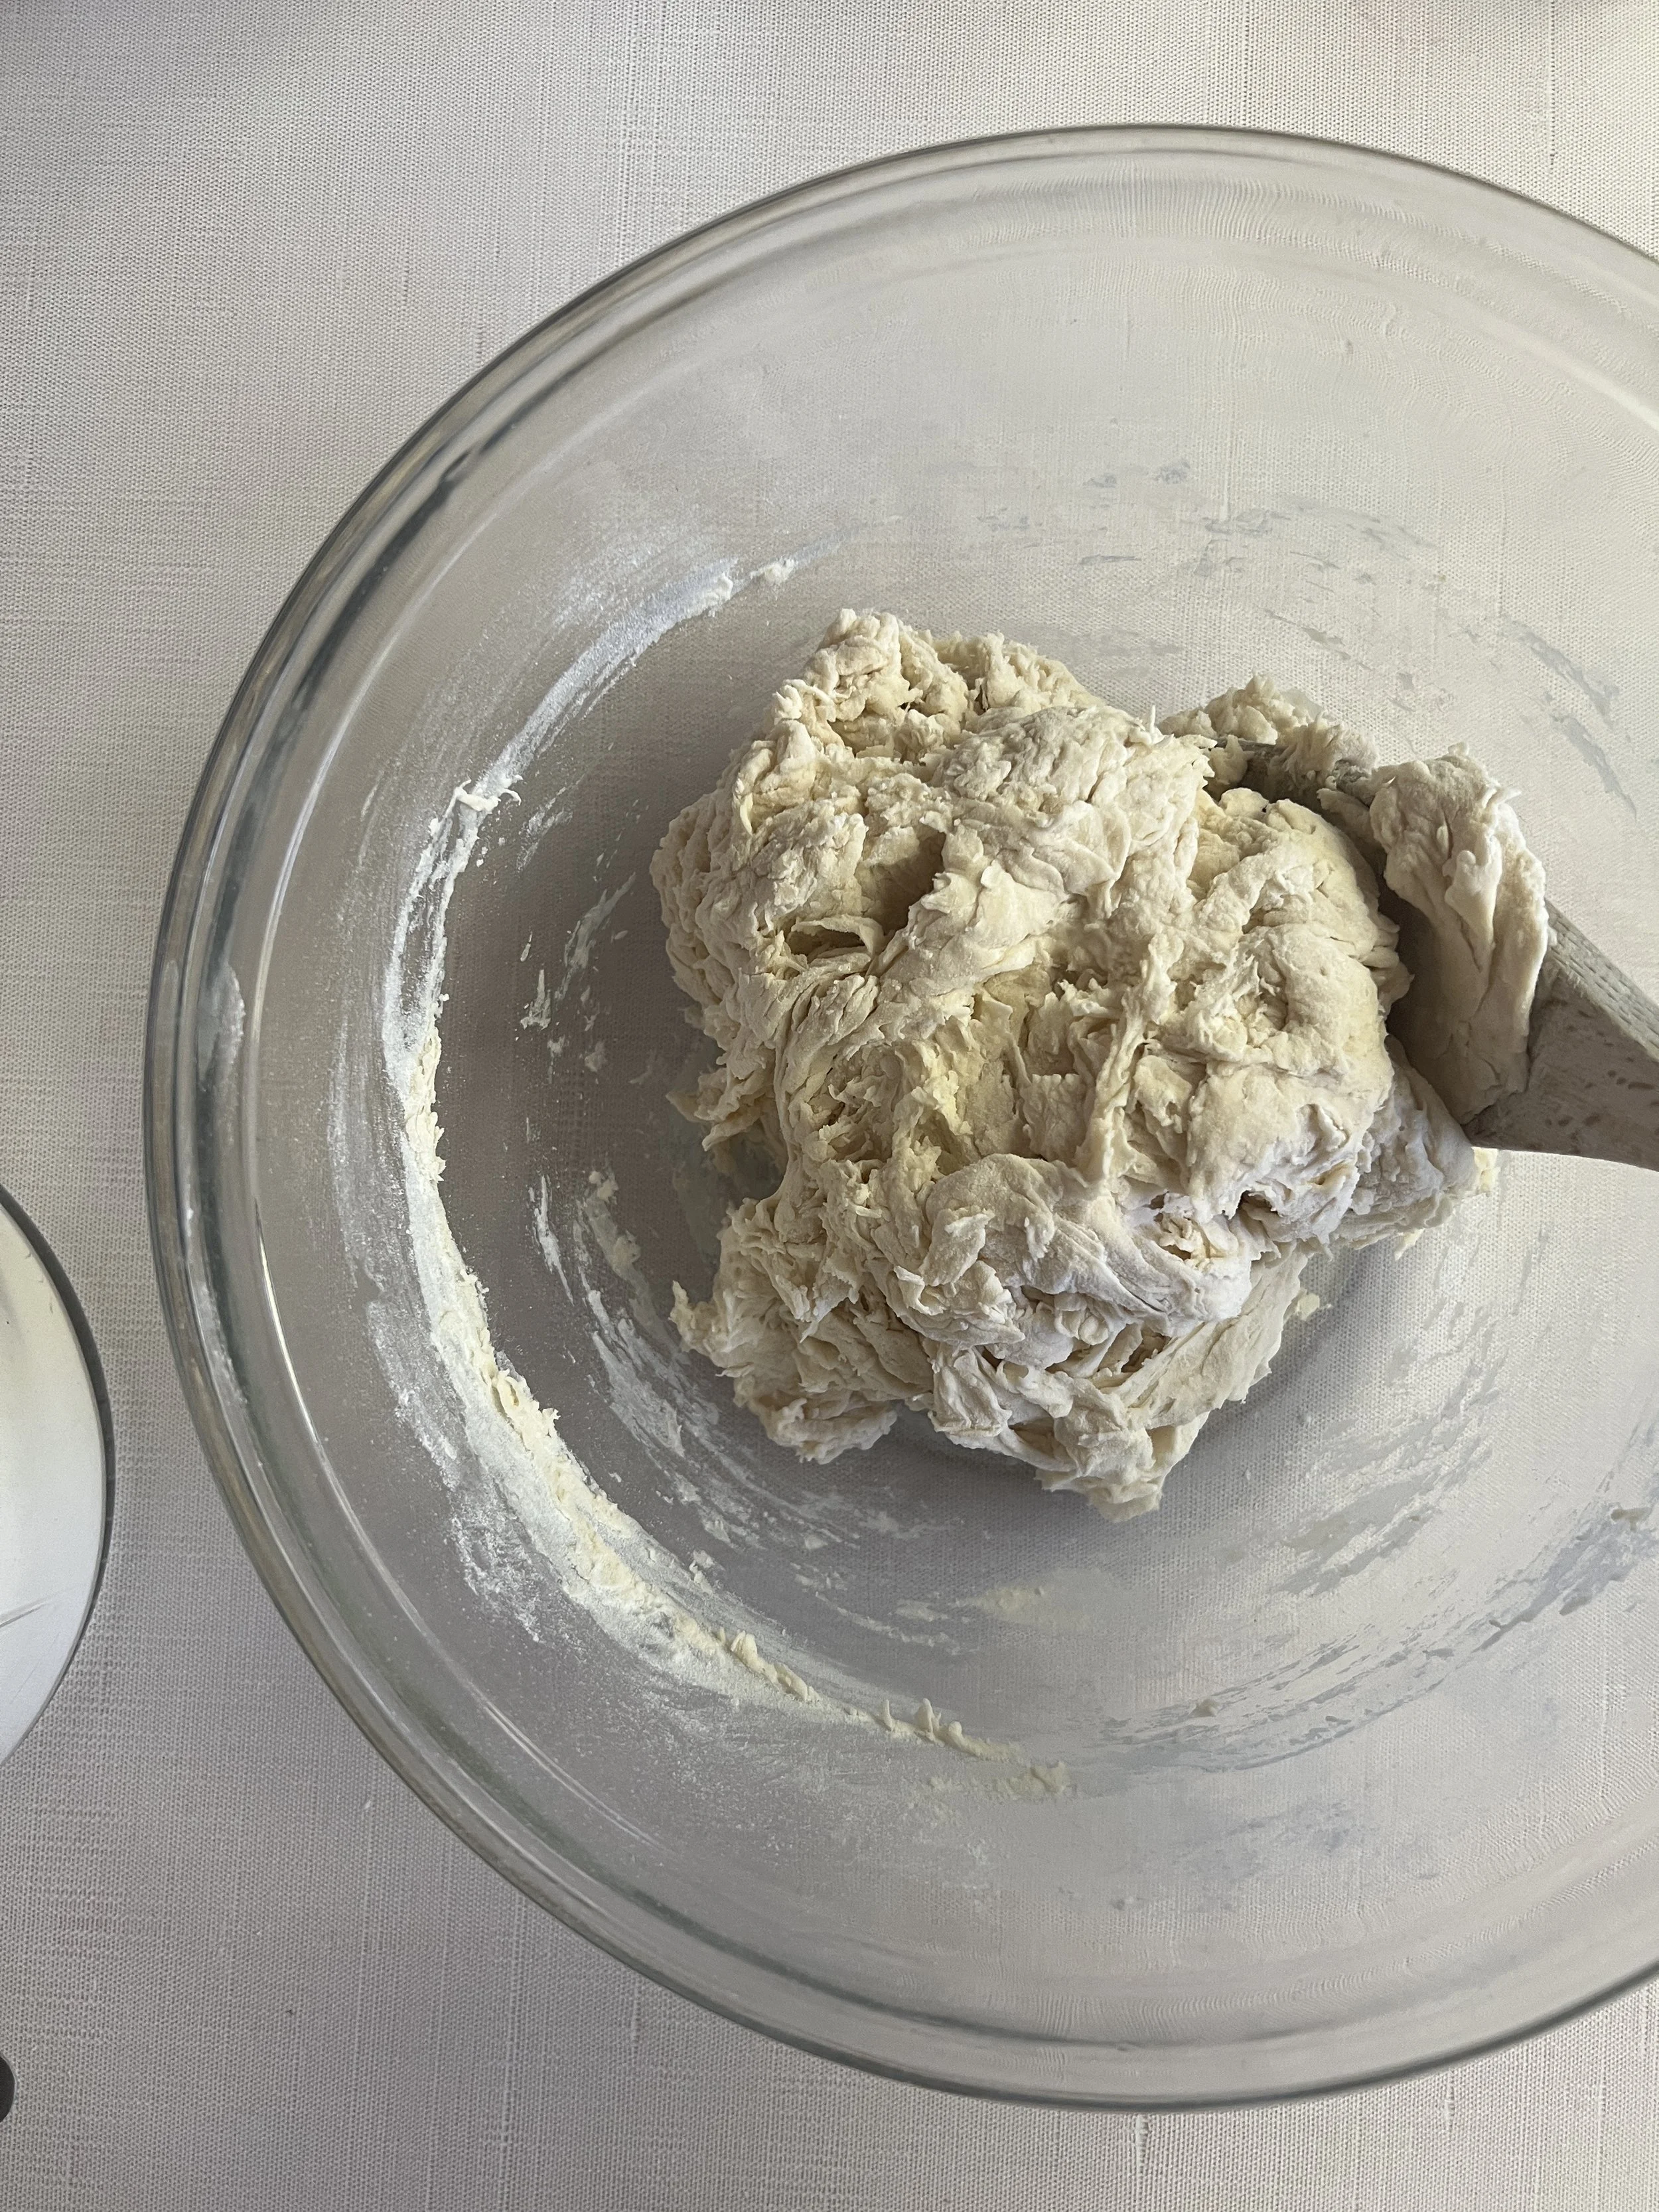
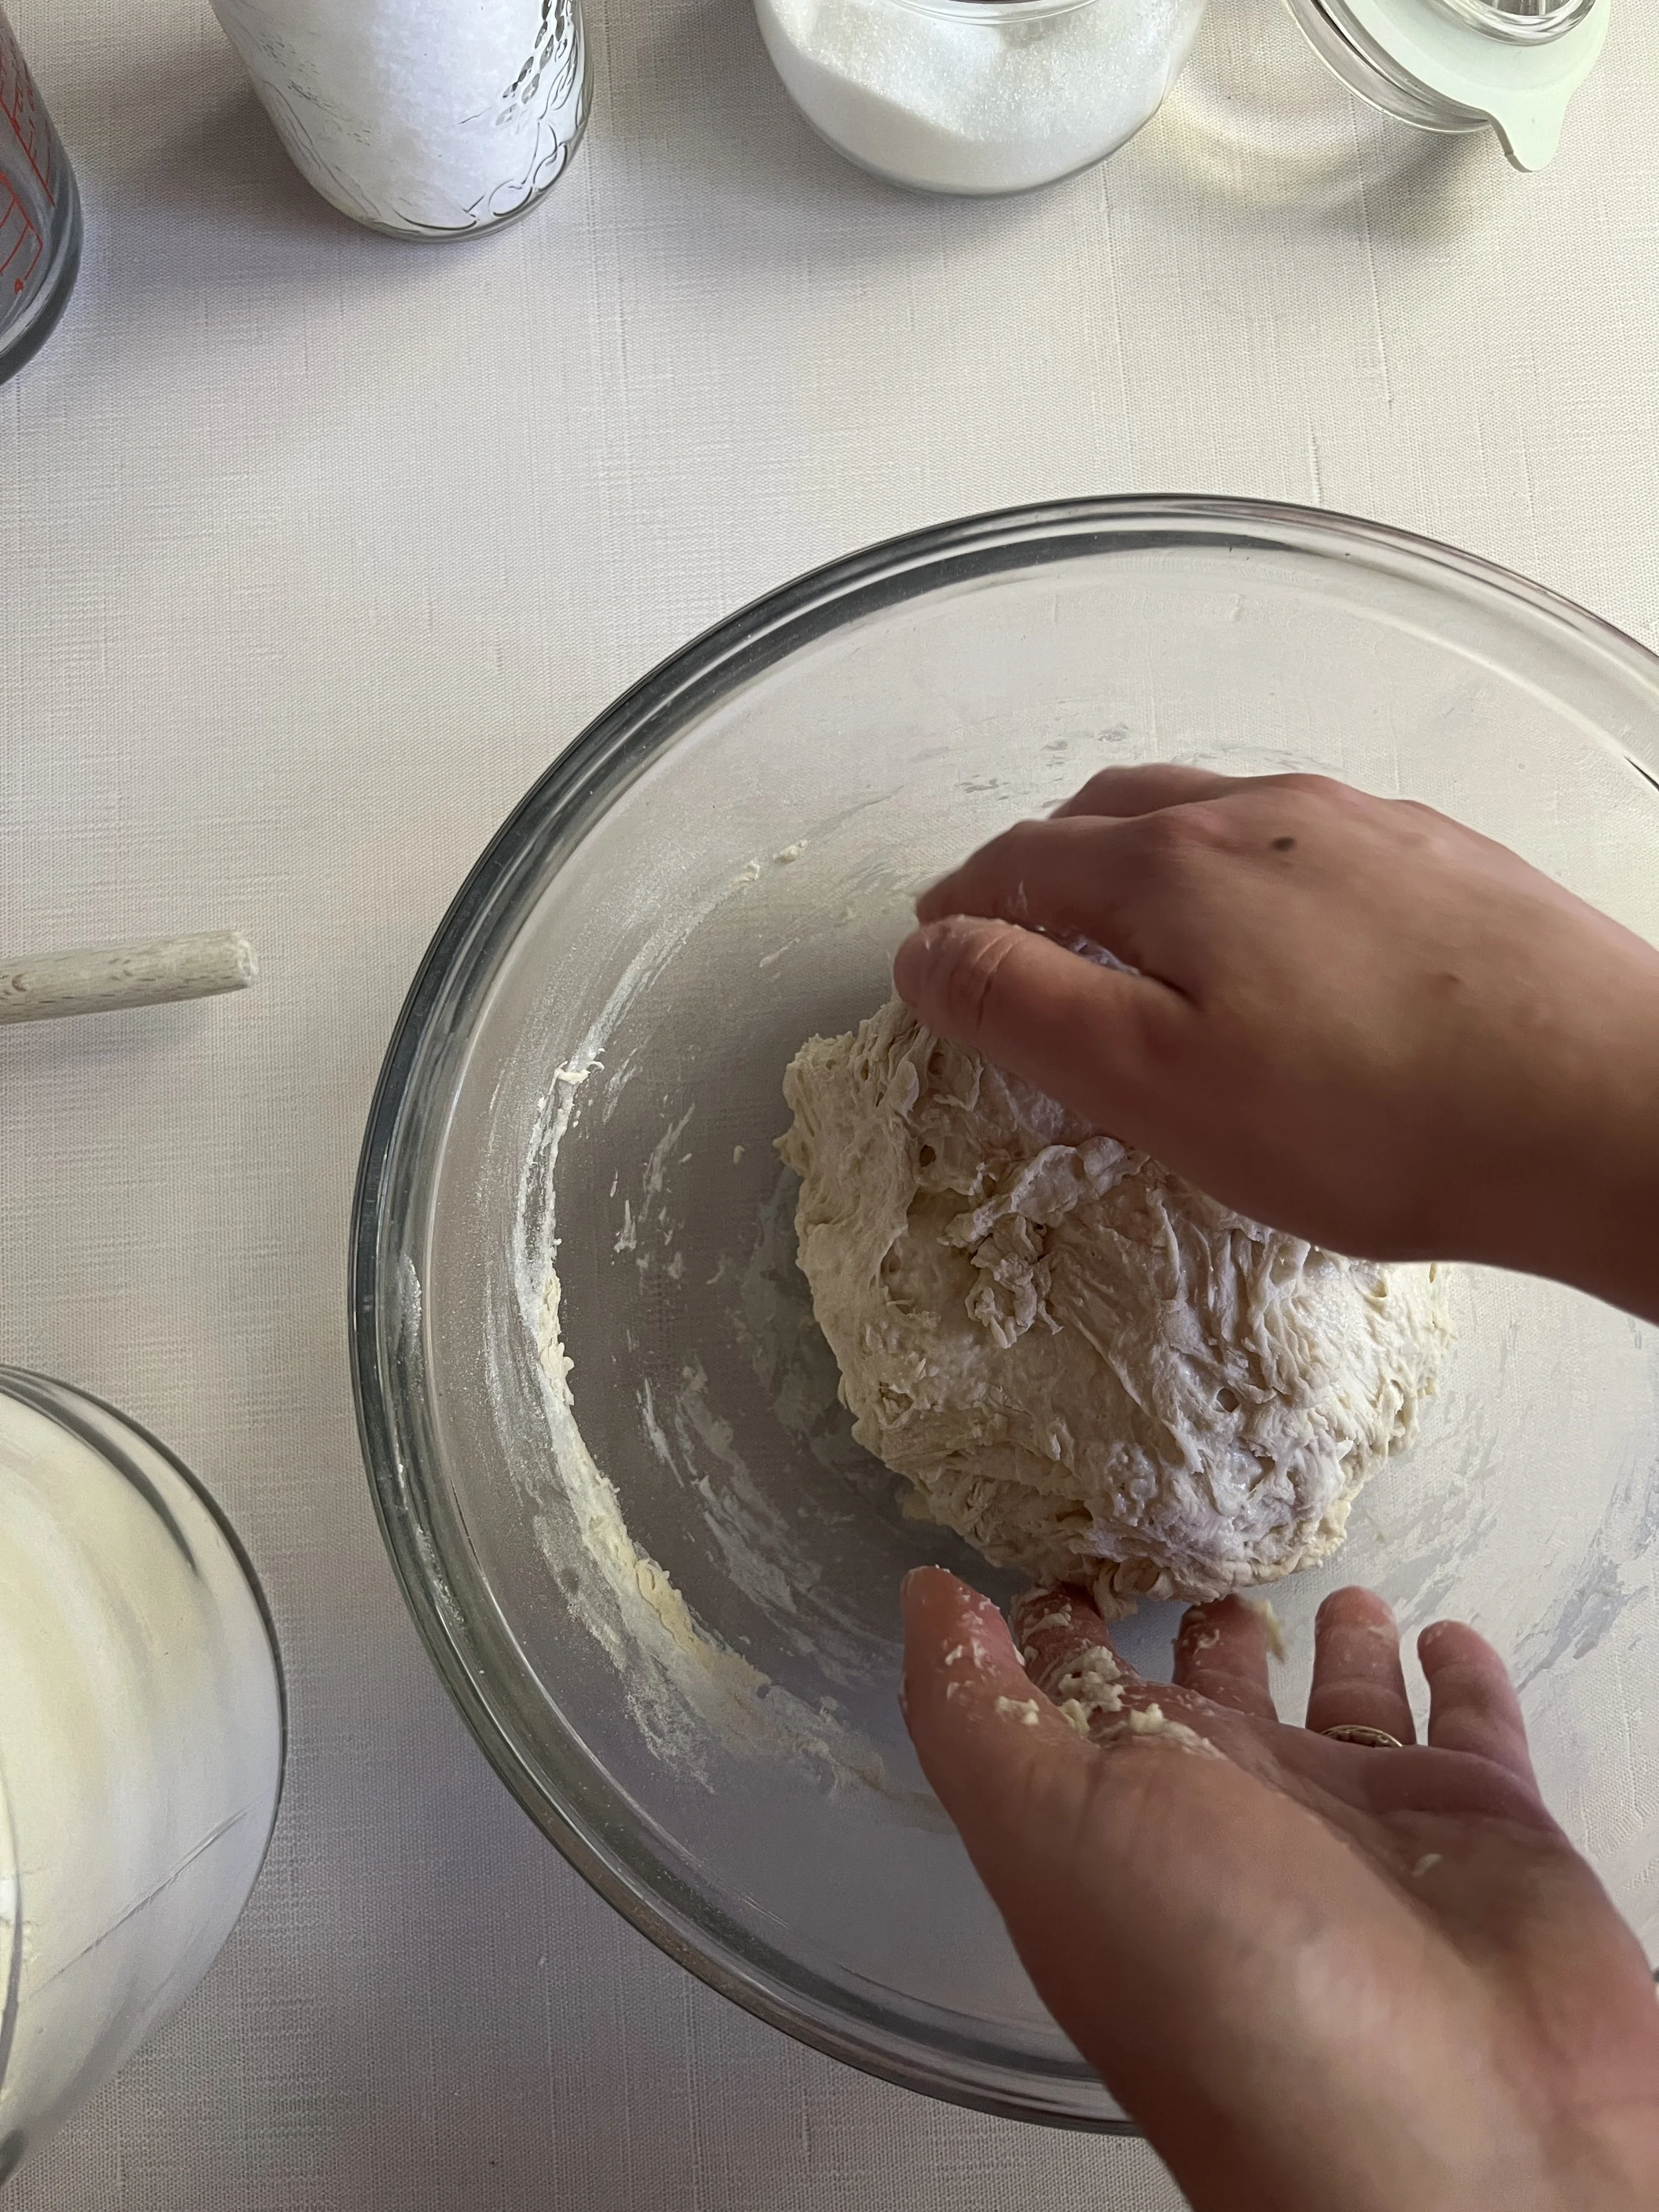
Add flour and salt. With a wooden spoon bring together, making sure to scrape the side of the bowl. Once in a ball, use your hand to gently shape it into a nice, but messy ball.
Cover with a dish towel or linen cover. Proof for an hour.
After about 40 minutes, place a dutch oven with its lid on into a cold oven and preheat to 450˚F.
Once the dough has proofed, remove it onto a well-floured surface and sprinkle a bit of additional flour. At this point it will be sticky, you’ll potentially have to scrape it out of the bowl. That’s ok! Next, fold your dough. Pull it into a rectangular shape and gently fold it in thirds. Turn it 90 degrees and do it again. At that point take the outside edges and fold them into the middle to form an upside down ball.
Flip your dough ball so that the seam are at the bottom and place into a parchment paper lined bowl, cover and let stand for 15 minutes.
After 15 minutes, score your dough (skip this step if you don’t have a lame) then gently lift the parchment paper with dough and transfer to dutch oven. Cover with lid and bake for 30 minutes.
After 30 minutes, remove lid. Using a spray bottle with water, spritz your bread evenly 2-3 times. Bake for an additional 10 minutes. Remove from oven, lift out the parchment paper and bread. Cool for at least 20=30 minutes before slicing.
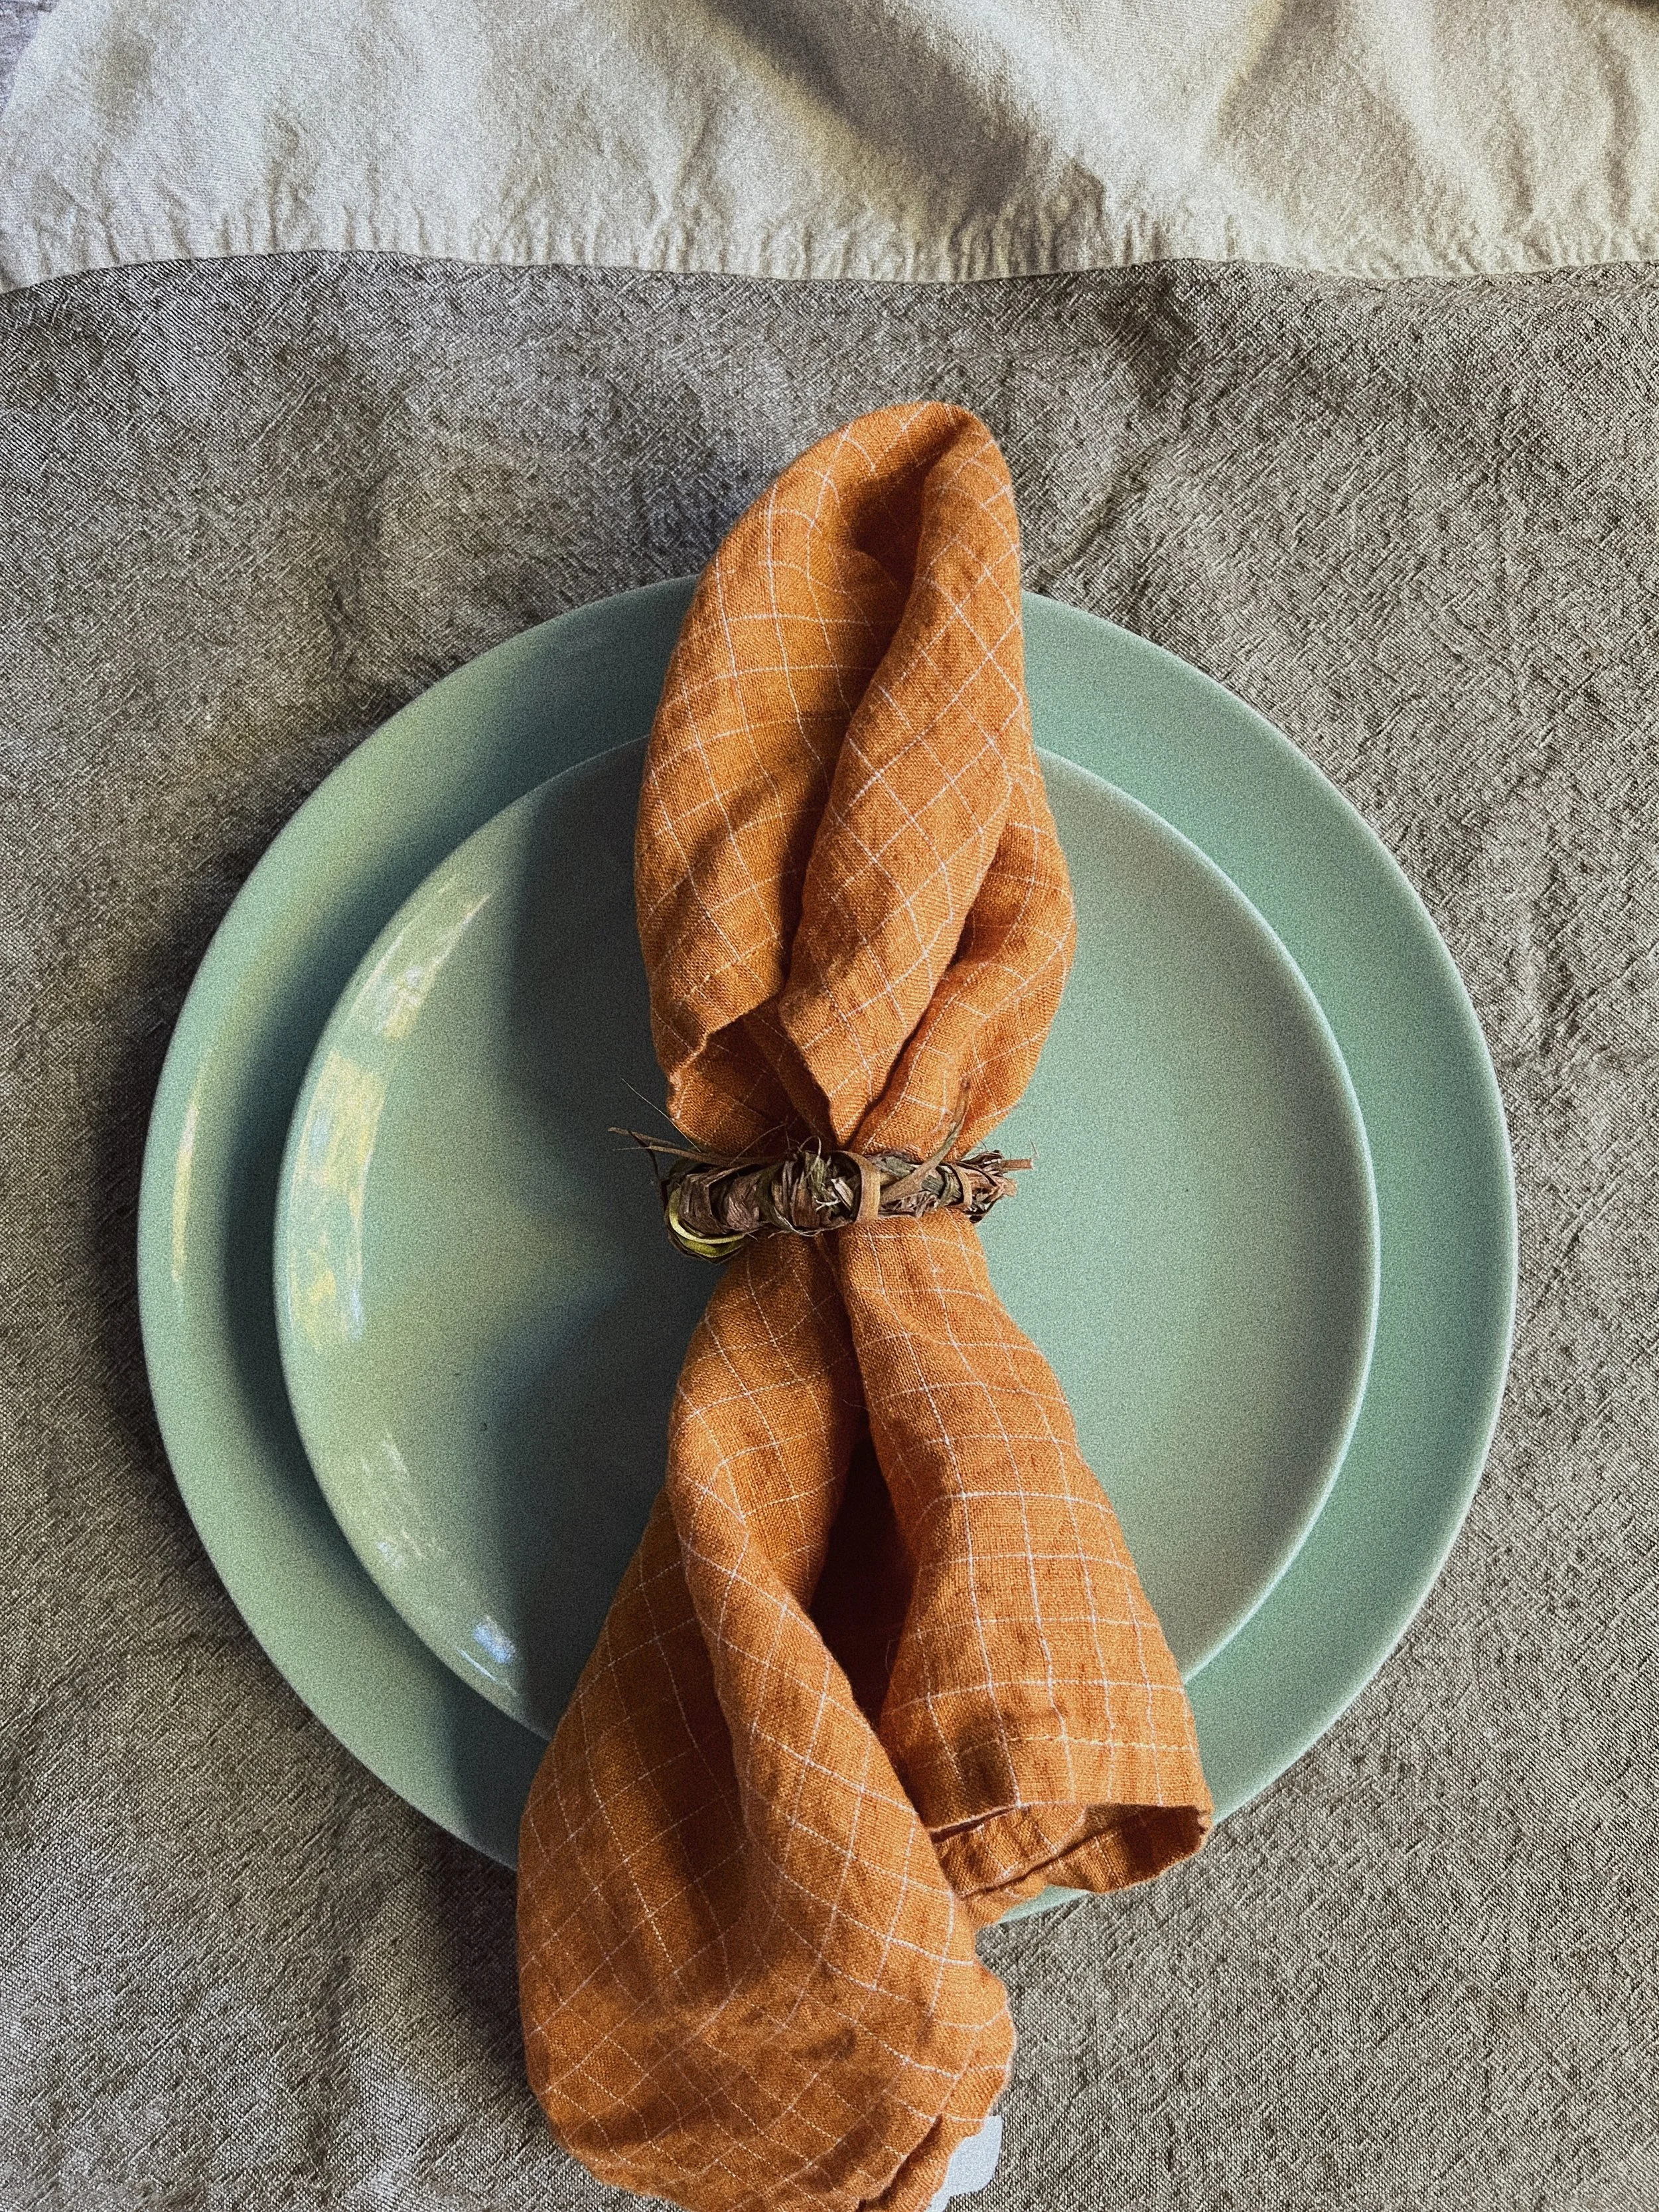
Thanksgiving Napkin Rings


WHAT YOU’LL NEED
• thin wire
• yarn, twine or cord
• dried botanicals
• glue gun (optional)
HOW TO DO IT
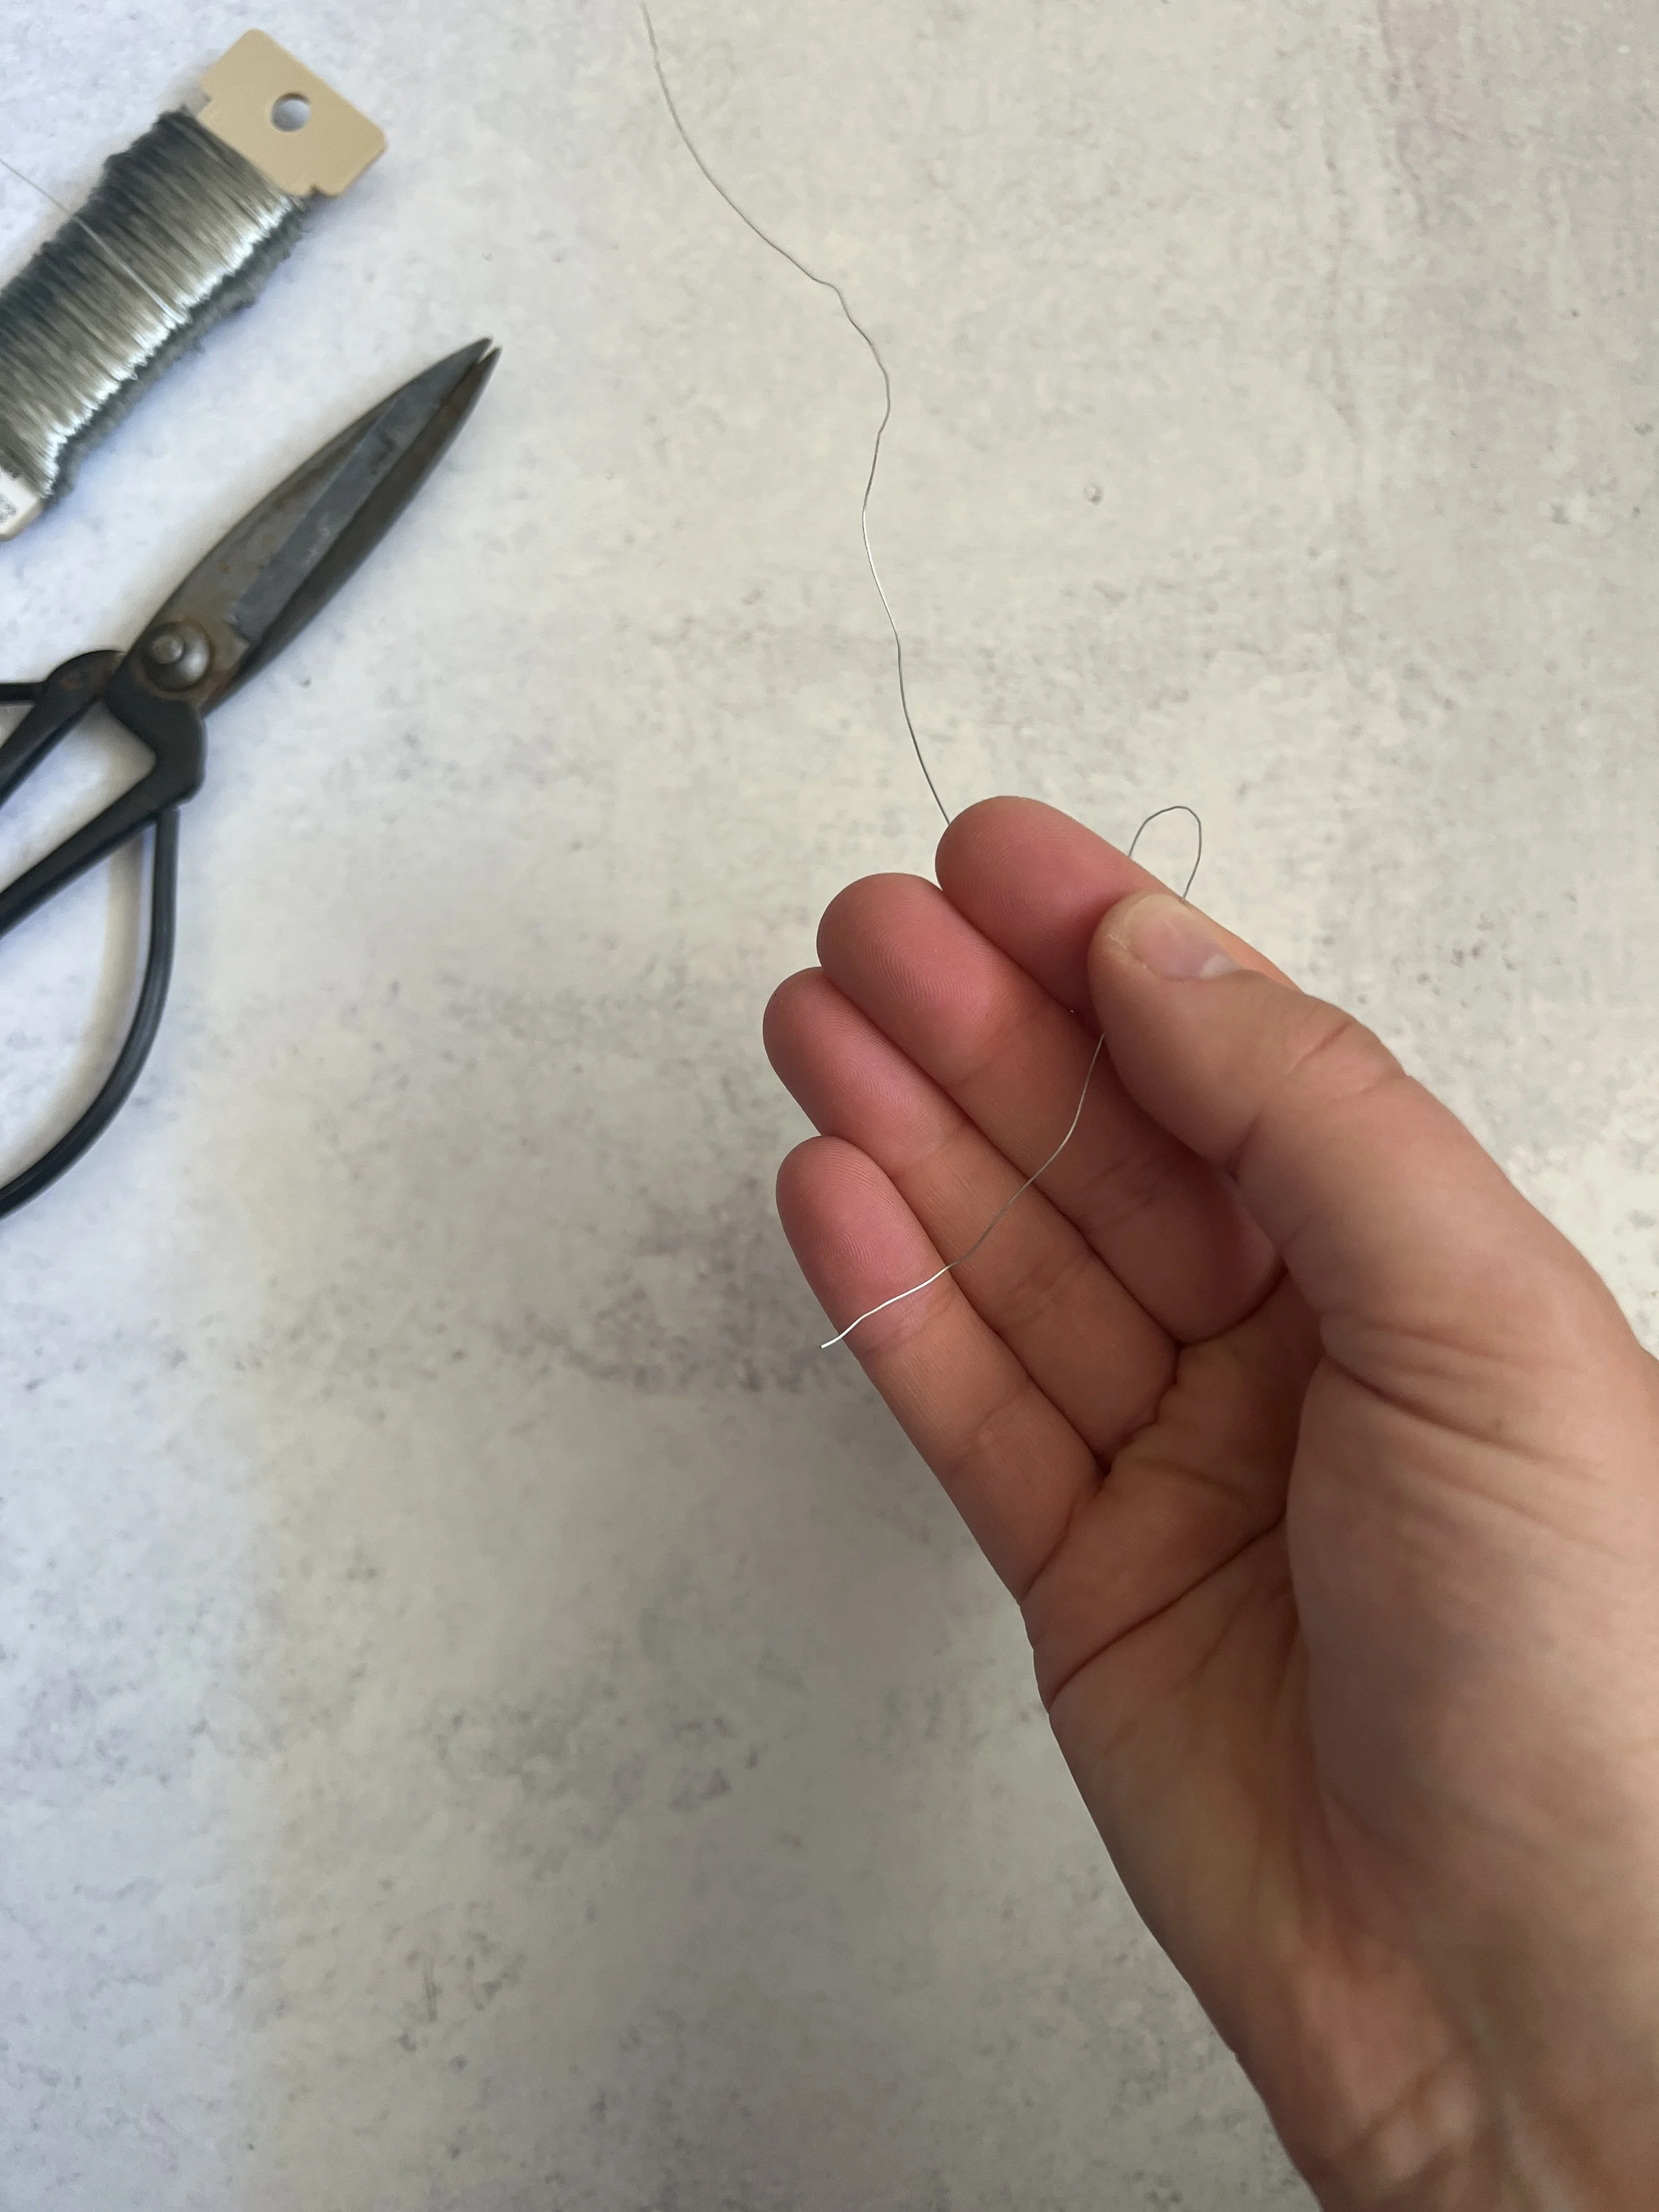
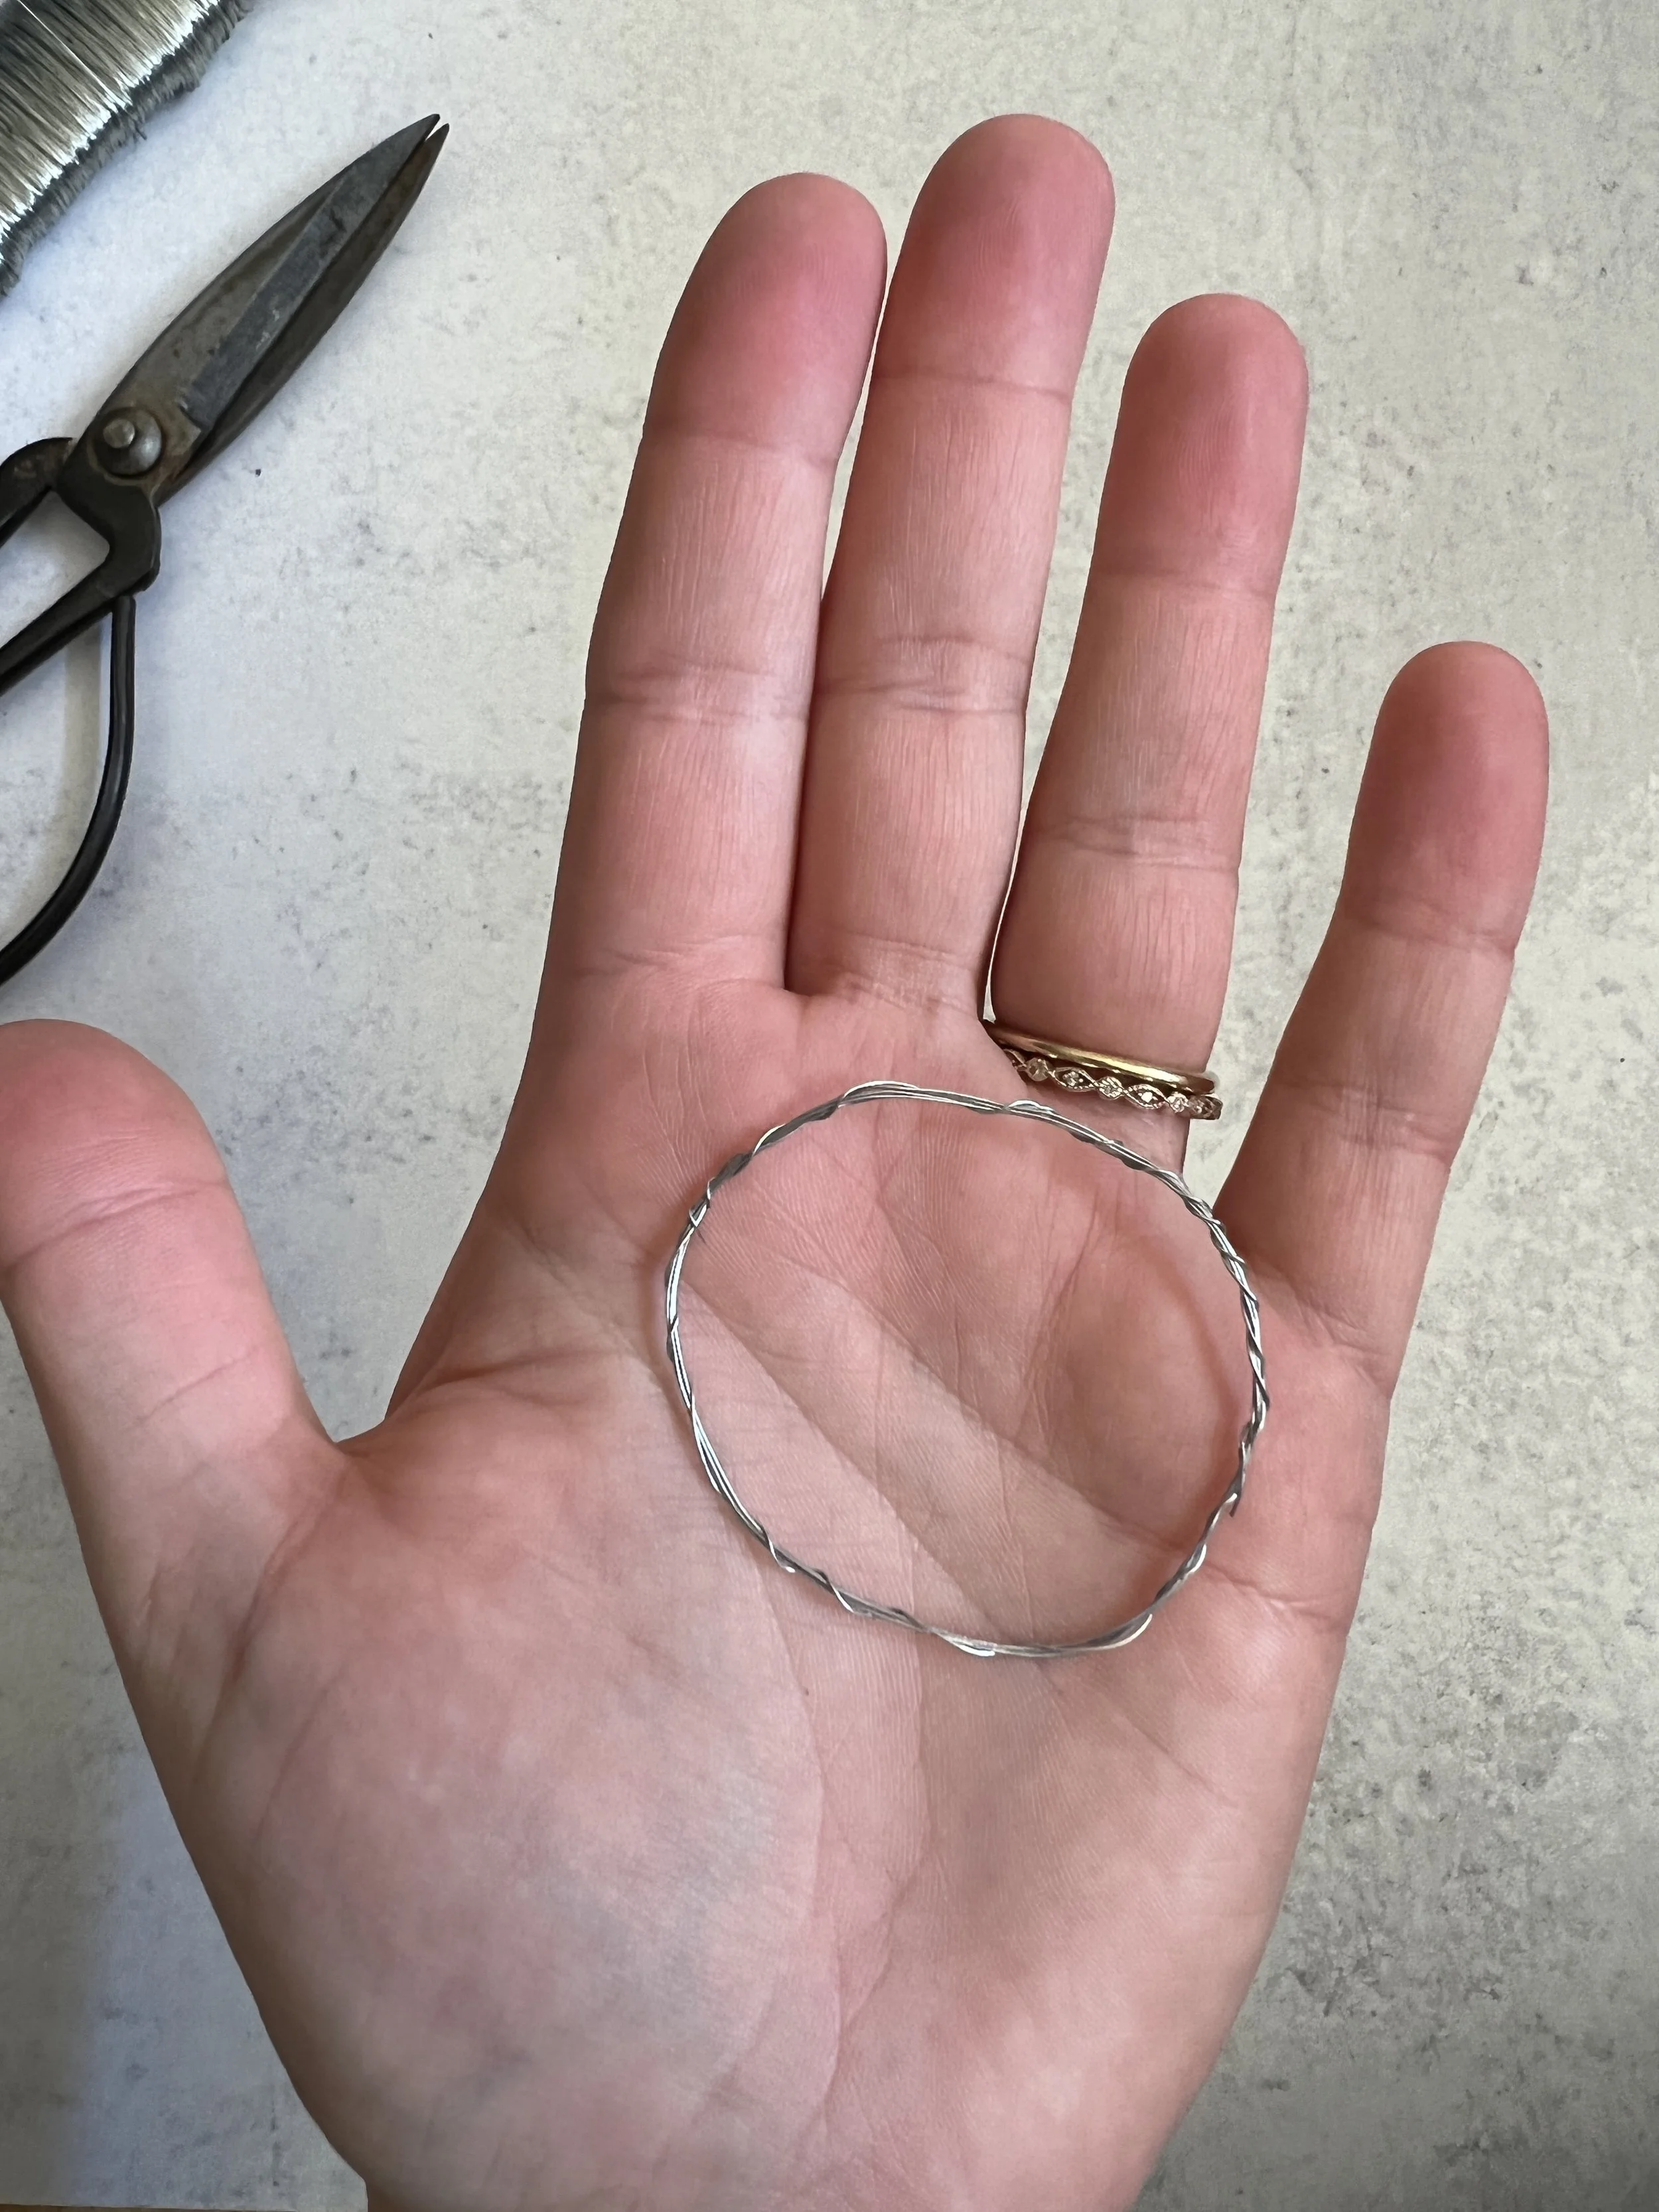
Measure out about 80 cm of wire. Hold the wire with your thumb in the palm against your four other fingers, with the start of the wire at your pinky.
Wrap the wire 3 times around your 4 fingers. Then take both ends of the wire and twist around the ring you’ve now made from both sides. This creates the wire base.
Measure out about 90cm of yarn, twine or cord. Tie it onto the ring and tightly wrap it around the rest of the ring. Tie it off once you have the whole ring covered. At this point you have a reusable base!
Gather your dried botanicals. I used dried day lily leaves. Wrap them around, tie them in until you no longer see your base. If needed utilize a glue gun.
Et voila, at the end of the season, swap out your botanicals and save your ring base.
Maple Frosted Apple-Cin Blondies
INGREDIENTS
You’ll need an 8x8 or 9x9 inch baking pan, makes about 16 small squares
BLONDIES
• 1/2 CUP unsalted butter, room temperature
• 1 CUP packed brown sugar
• 1 large egg
• 1 TEASPOON vanilla extract
• 1 TEASPOON cinnamon
• 1/4 TEASPOON salt
• 1/2 CUP of apple butter
• 1 medium apple - peeled and diced - around 1 cup
MAPLE FROSTING
• 3/4 CUP pure maple syrup
• 1/4 CUP unsalted butter
• 2 TABLESPOONS whipping cream
• 1 CUP powdered sugar
METHOD
Set oven to 350˚F . Lightly grease pan with butter. Beat together butter and sugar until light and fluffy. On medium speed, add egg, vanilla, salt and cinnamon.
Fold in apple butter and diced apples. Finally, fold in flour, being careful not to over mix (just until combined).
Spread the batter evenly in baking pan. Bake for 30-35 minutes, or until a toothpick can be pulled out cleanly. Let cool.
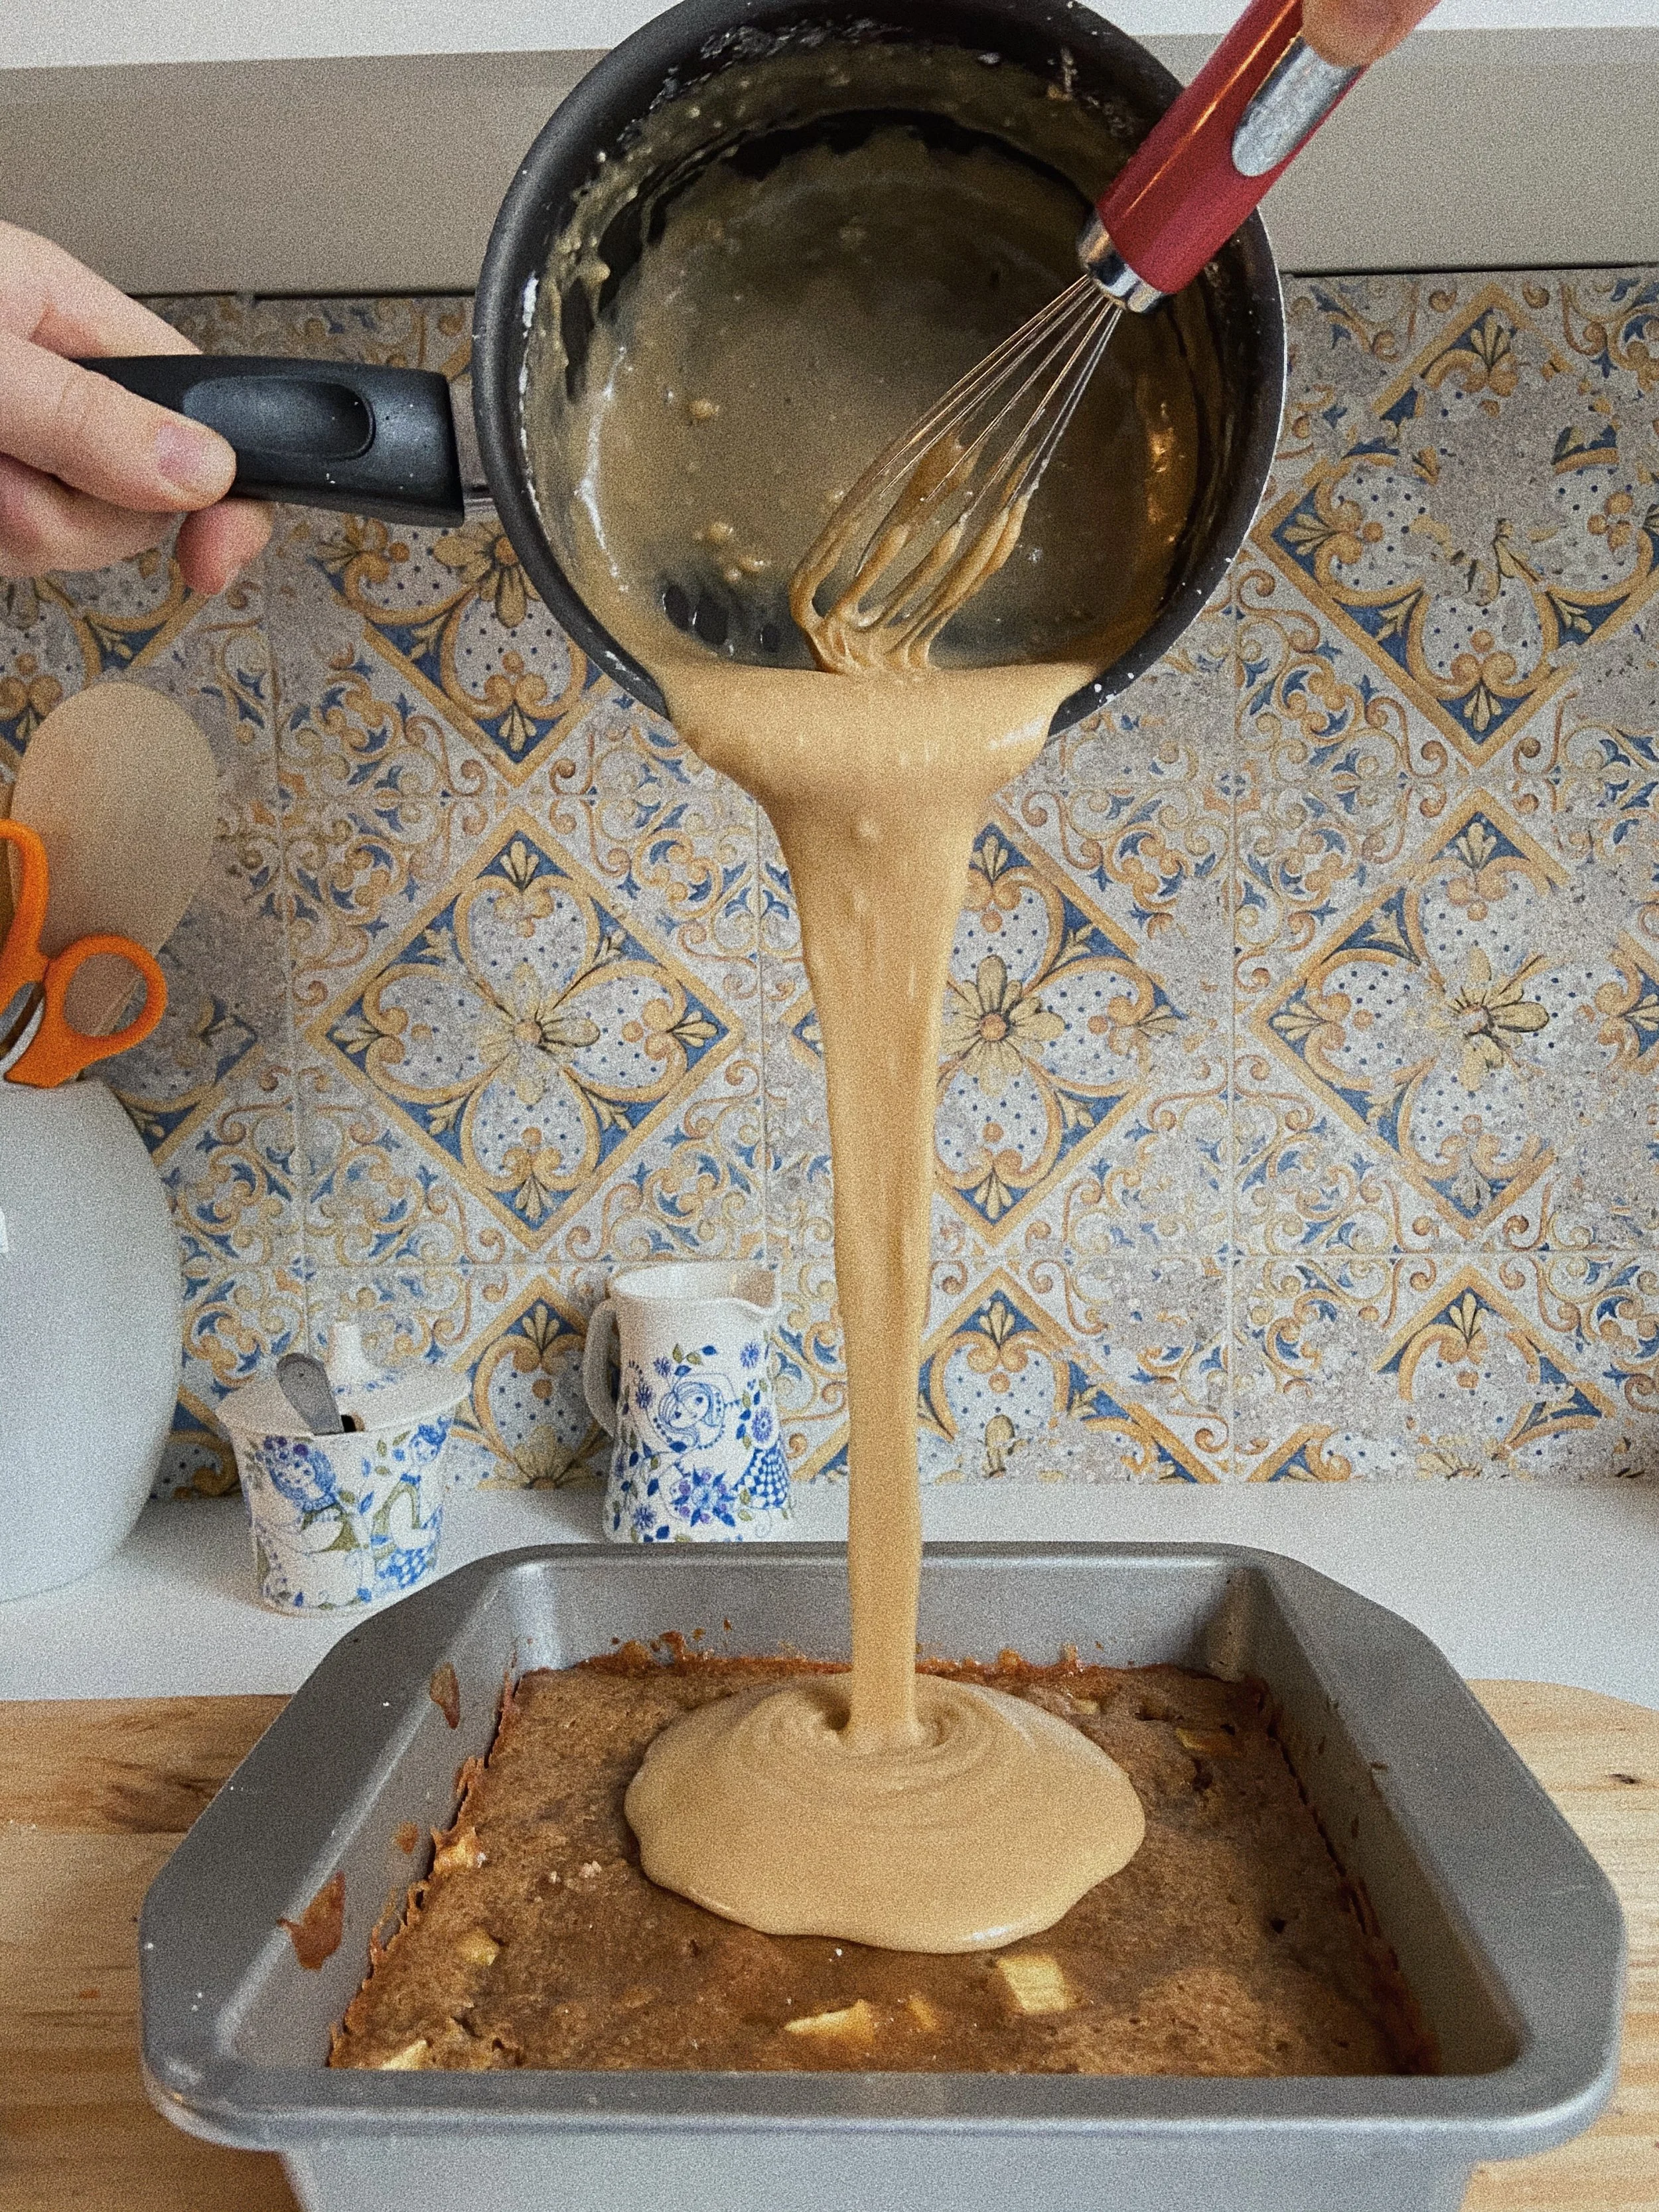
Prepare your frosting by bringing the maple syrup and reducing to about 1/2 cup (this takes anywhere from 3-5 minutes). Remove from heat and add butter and cream. Continue to mix until butter has melted and is well incorporated. Whisk in powdered sugar until smooth.
Pour over blondies and spread evenly. The frosting will set quickly so be quick with this step.